“`html
Introduction
In recent years, distressed furniture DIY projects have gained immense popularity among home decor enthusiasts. With a growing trend towards creating personalized and cozy living spaces, many people have turned to upcycling and transforming old or plain pieces into vintage-style masterpieces. According to a survey by Statista, about 40% of Americans engaged in DIY home improvement projects in the last year, with furniture revamping being one of the top activities.
Getting Started with Distressed Furniture DIY
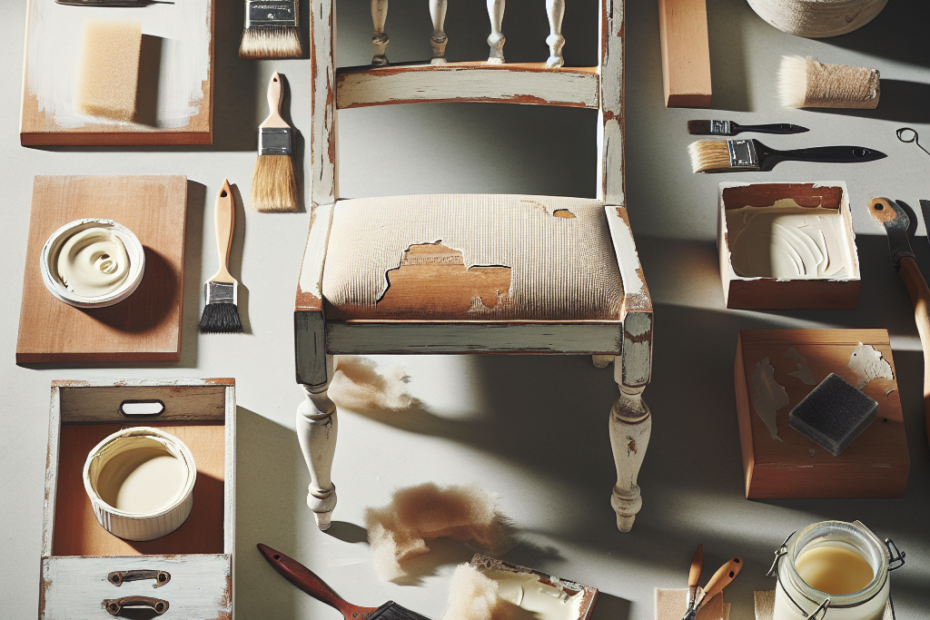
To successfully create distressed furniture, they must gather a few key materials. Essential items include sandpaper, chalk paint, a brush, wax or furniture sealant, and some old rags. They might also need additional tools like a chisel or hammer if they want to add extra character to the piece.
Step-by-Step Guide to Distressing Furniture
- Prepare the Furniture: Begin by cleaning the furniture with a damp cloth to remove any dust and grime. If there is an old finish, lightly sand it down to ensure the new paint adheres well.
- Apply the Base Coat: They should choose a color that’s darker than their final choice if they want to create contrast. After applying, let it dry completely.
- Layer with Chalk Paint: This type of paint creates a matte finish ideal for distressing. Apply an even layer and allow it to dry.
- Sand the Edges: Use sandpaper to gently sand the edges and areas that would naturally wear over time. This reveals some of the base coat or original wood.
- Finish with Wax: They can protect the piece and create a soft sheen by applying a coat of wax or furniture sealant.
The Art of Perfectly Distressing Furniture
To master distressed furniture DIY, they should understand the balance between too much and too little. It’s about understanding where natural wear and tear would appear—like edges, corners, and handles. They could also use a damp rag to remove paint in places for a weathered effect. Study antique pieces for inspiration and avoid over-sanding to prevent damage.
Table: Essential Tools and Materials
| Item | Purpose |
|---|---|
| Sandpaper | For roughening surfaces and creating distress marks |
| Chalk Paint | To create a matte finish perfect for distressing |
| Wax/Sealant | To protect and seal the paint job |
| Brush | For applying paint smoothly |
| Old Rags | For cleaning and distressing |
Benefits of Distressed Furniture DIY
They not only save money by reusing old furniture, but they also contribute to a more sustainable lifestyle by reducing waste. Transforming pieces into distressed furniture allows them to create unique decor that reflects their personal style. Plus, the pride and satisfaction of completing a DIY project are rewarding.
Key Takeaways
- Distressed furniture DIY is a popular and cost-effective way to personalize home decor.
- Essential tools include sandpaper, chalk paint, and a sealant to achieve a vintage look.
- Understanding areas of natural wear will help create authentic distressed effects.
- Upcycling furniture contributes to sustainability and offers personal satisfaction.
FAQs on Distressed Furniture DIY
- What is the best paint to use for distressed furniture? Chalk paint is favored for its matte finish and ease of use.
- Can they distress furniture without sanding? While sanding is recommended for a deeper effect, they can use wax or a wet rag for slight distressing.
- How long does the distressing process take? It varies, but they should set aside a day to allow for paint drying time.
- Is sealing necessary after distressing? Yes, sealing protects the finish and enhances longevity.
- Can they use regular paint instead of chalk paint? Yes, but it might lack the distinct texture and ease of distressing that chalk paint provides.
“`
