Introduction
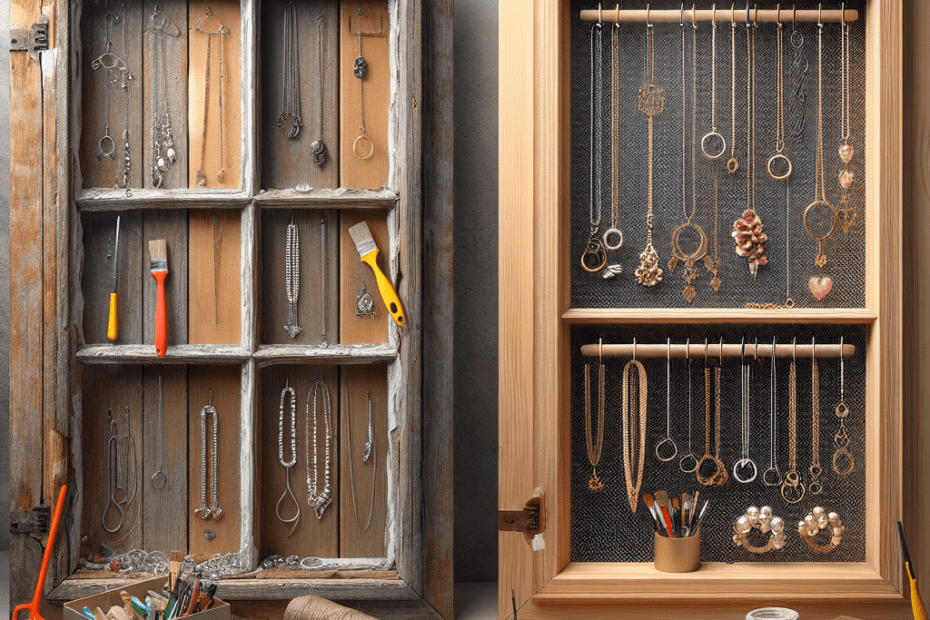
In a world where they strive for sustainable living, many find joy in upcycling. An exciting trend is to transform an unwanted piece into something unique and functional. For those who cherish their jewelry collections, an Upcycled Window Jewelry Organizer offers both a practical solution and a charming decor piece. This DIY project not only reduces waste but also gives new life to old windows.
Why Upcycled Jewelry Organizers Matter
As of 2020, it is estimated that over 12 million tons of furniture and furnishings are thrown away in the United States each year. By refashioning old windows into jewelry organizers, individuals contribute to reducing this waste in a creative manner. According to the Environmental Protection Agency (EPA), recycling and upcycling can significantly reduce the total waste volume, easing the burden on landfills.
Materials Needed for an Upcycled Window Jewelry Organizer
Creating an upcycled window jewelry organizer is an accessible project that requires a few simple materials, which can often be found around the house or purchased at minimal cost.
| Material | Purpose |
|---|---|
| Old Window Pane | The centerpiece of your project, serving as the organizer’s frame |
| Paint or Varnish | To add color and protect the wood |
| Hooks and Knobs | Used for hanging and organizing jewelry |
| Wire Mesh or Fabric | Attaches to the window panels to hang items |
| Screws and Screwdriver | For attaching hooks and knobs |
| Sandpaper | To smoothen the window surface |
Steps to Create an Upcycled Window Jewelry Organizer
Follow these steps to transform an old window into a stunning jewelry organizer:
- Prepare the Window: Clean the window pane to remove any dust and dirt. Use sandpaper to smooth out any rough edges.
- Painting: Apply paint or varnish to give the window a refreshed look. Choose a color that complements your room decor.
- Add Wire or Fabric: Attach wire mesh or a piece of fabric to the back of the window panels if you plan to hang earrings or similar items. Secure it tightly with a staple gun or small nails.
- Install Hooks and Knobs: Determine the placement for hooks and knobs. Use a screwdriver to affix them to the window frame. This will provide space to hang necklaces, bracelets, and other accessories.
- Mount the Organizer: Decide whether you want this organizer to hang on the wall or lean against a surface. Attach hanging hardware or place it where desired.
Creative Finishing Touches
Personalize your jewelry organizer with a few decorative elements. Consider adding stencils or decorative decals to create patterns or images on the window pane. You could also attach small baskets or trays at the base to store rings and other small items.
Environmental Impact and Benefits
Choosing upcycling over new purchases can have profound environmental benefits. By repurposing materials, they reduce the need for manufacturing and the resultant energy consumption and pollution. This conscious act not only benefits the earth but also instills a sense of accomplishment and creativity in individuals.
Key Takeaways
- Upcycling an old window reduces waste and contributes to eco-friendly living.
- An upcycled window jewelry organizer combines functionality with unique aesthetic value.
- This DIY project is simple, requiring just a few materials and tools.
- Personalizing your jewelry organizer brings additional charm to your personal space.
FAQs
- 1. What kind of windows can be used for this project?
- Any sturdy, intact window pane is suitable, whether it’s wooden or metal-framed.
- 2. Is it necessary to paint the window?
- No, painting is optional. Some prefer the rustic charm of an unpainted window.
- 3. Can any other materials be used for hanging jewelry?
- Yes, along with wire mesh or fabric, you could use chicken wire or fine netting.
- 4. How can I ensure the hooks are securely attached?
- Ensure that the hooks are screwed into the frame fully and tightly to support the weight of the jewelry.
- 5. Is there a risk of glass breaking?
- If the window still has glass panes, handle it with care. Some choose to remove glass altogether for safety.
