Introduction
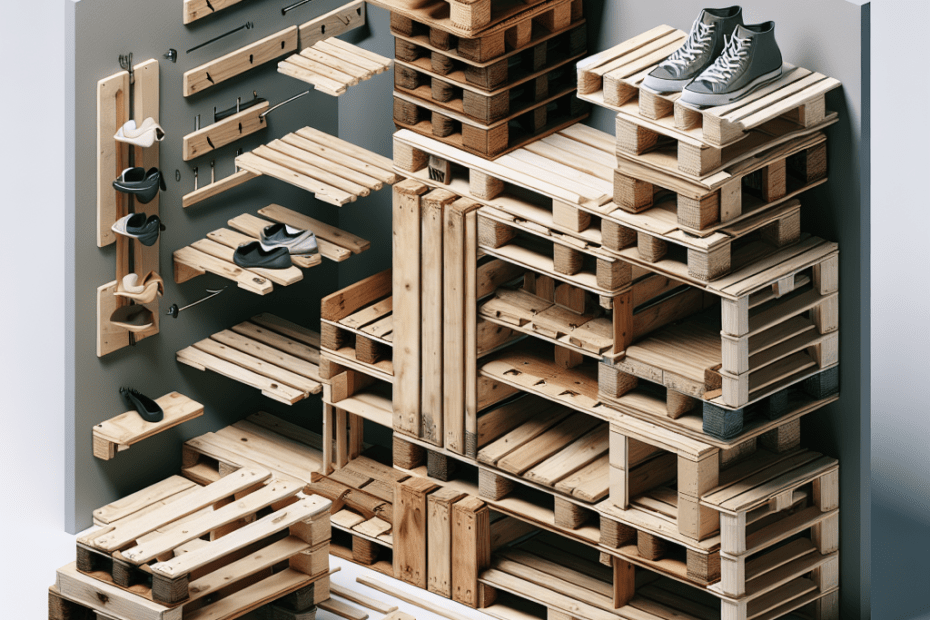
Building a DIY Pallet Shoe Rack can be a rewarding weekend project for those who enjoy crafting and want to add a rustic touch to their home. Wooden pallets are not only inexpensive, but they’re also a sustainable choice for many DIY projects, including shoe racks. An estimated 700 million pallets are discarded each year in the United States alone, according to the National Wooden Pallet and Container Association. This makes pallets readily available for reuse. By creating a shoe rack from wooden pallets, individuals can declutter their space, organize their shoes, and contribute to environmental conservation by repurposing unused wood.
Materials Needed
- Wooden pallets (preferably heat-treated for safety)
- Nails or wood screws
- Hammer or screwdriver
- Sandpaper or an electric sander
- Wood stain or paint (optional)
- Saw
- Measuring tape
Steps to Build a DIY Pallet Shoe Rack
Step 1: Gather and Prepare Pallets
Start by sourcing wooden pallets that are in good condition. Many stores or warehouses give them away for free, so check locally. Ensure that the pallets are heat-treated, not chemically treated, for safety. Disassemble the pallet using a crowbar and hammer or saw.
Step 2: Sand the Pallet Wood
Once disassembled, sand the wooden pieces thoroughly to remove any rough spots or splinters. This improves the overall appearance and makes the rack safer to use. An electric sander can make this process faster.
Step 3: Cut the Wood
Measure the desired dimensions of the shoe rack. A common size might be around 3 feet wide and 1 foot deep, but adjust according to your available space. Cut the wood planks accordingly using a saw.
Step 4: Assemble the Frame
Assemble the base frame of the rack using the larger pieces of wood. Secure the corners with nails or screws, ensuring that the structure is stable and doesn’t wobble.
Step 5: Add Shelves
Decide how many shelves your rack will have. Typically, two to three shelves are enough to hold multiple pairs of shoes. Attach the shelves using nails or screws, evenly spacing them to accommodate different shoe types and sizes.
Step 6: Finishing Touches
If desired, apply wood stain or paint to protect the wood and enhance its appearance. Allow the finish to dry thoroughly before storing shoes on it.
Benefits of a DIY Pallet Shoe Rack
| Benefit | Description |
|---|---|
| Cost-effective | Using repurposed materials such as wooden pallets significantly reduces costs. |
| Sustainability | Repurposing pallets helps reduce waste in landfills and promotes sustainable living. |
| Customization | The design can be tailored to fit personal style and specific spatial needs. |
| Skill Development | Engaging in DIY projects helps enhance woodworking and creative skills. |
Key Takeaways
- DIY projects like building a pallet shoe rack afford both environmental and economic benefits.
- Creating personalized and eco-friendly furniture can be both satisfying and practical.
- Sourcing free wooden pallets reduces the project cost significantly.
- Ensuring that safety precautions are taken when selecting and preparing pallets is essential.
FAQs
1. Where can I find free wooden pallets?
Free pallets can often be found at local warehouses, hardware stores, and some businesses, which often discard them.
2. How do I ensure the pallets are safe to use?
Look for pallets marked with ‘HT’ (heat-treated) rather than ‘MB’ (methyl bromide), which indicates they are chemical-free and safer for indoor use.
3. How long does it usually take to build a pallet shoe rack?
Typically, it could take around 3-5 hours depending on skill level and tools available. This includes time for disassembling, sanding, cutting, and assembling.
4. Can I paint the pallet shoe rack?
Yes, painting is an excellent way to add color and protect the wood. Ensure the paint is suitable for wood and applies evenly.
5. Are there alternatives to nails or screws?
Wooden dowels or wood glue can also be used to join parts together, although nails and screws often provide more secure joints.