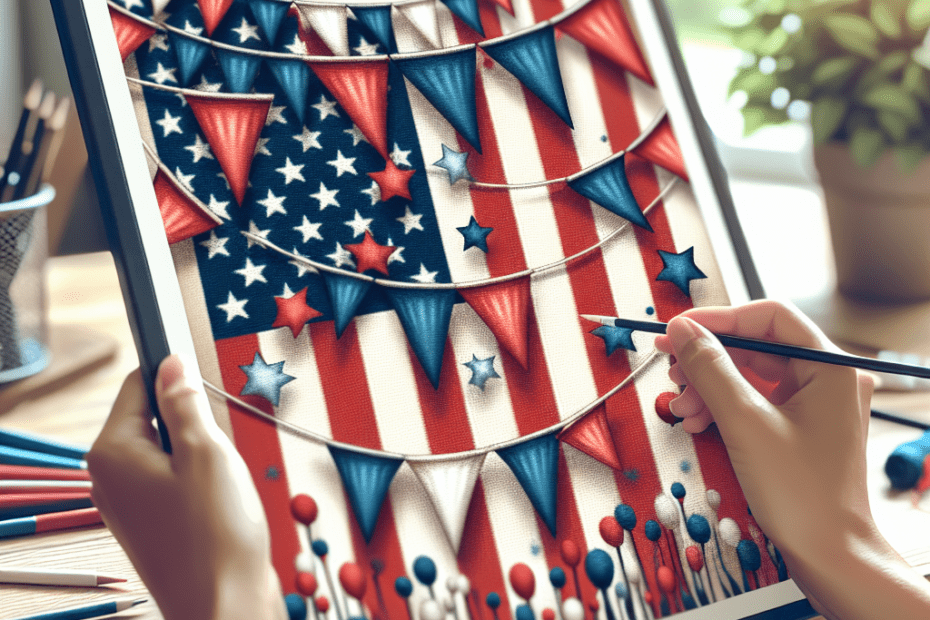
Celebrate Independence Day with DIY Patriotic Bunting
As families across the United States gear up for Independence Day, many look for creative ways to decorate their homes in red, white, and blue. One of the most festive and rewarding crafts they can embark on is creating a DIY Patriotic Bunting. This simple yet impactful decor transforms any space into a celebration zone, embodying the spirit of the Fourth of July.
Why Choose DIY Patriotic Bunting?
DIY Patriotic Bunting is not only a cost-effective option compared to store-bought decorations, but it also provides a personalized touch to holiday festivities. According to a survey by Statista, 68% of Americans celebrate the Fourth of July by decorating their homes, and crafting DIY decorations can make the celebrations even more meaningful.
Materials Needed for DIY Patriotic Bunting
Crafters can use various materials to create their very own patriotic bunting. Here’s what they’ll need:
| Materials | Quantity |
|---|---|
| Red, white, and blue fabric | 1 yard each |
| Scissors | 1 pair |
| Sewing machine or needle and thread | 1 |
| Ribbon or string | 10 feet |
| Fabric marker | 1 |
| Templates (optional) | Variety |
Step-by-Step Guide to Making DIY Patriotic Bunting
Step 1: Cut the Fabric
Begin by cutting the red, white, and blue fabric into triangle shapes. For a consistent look, use a fabric marker and a template to outline each piece before cutting. Typically, each triangle should measure about 8 inches in width and 10 inches in height.
Step 2: Hem the Edges
To prevent fraying, hem the edges of each triangle. This can be done with a sewing machine or by hand stitching. Folding the edges inwards before hemming adds a cleaner look.
Step 3: Arrange the Pattern
Lay out the triangles in a pattern alternating between red, white, and blue. This visually balanced arrangement is pleasing and emblematic of the American flag.
Step 4: Attach to Ribbon or String
Once the desired pattern is achieved, use a sewing machine or needle and thread to attach the top of each triangle to the ribbon or string. Make sure they are evenly spaced for a unified appearance.
Step 5: Display Your Bunting
The final step is to display the bunting across the porch, above the fireplace, or even within outdoor entertaining areas. It adds a vibrant, festive touch to any environment.
Fun Variations and Tips
To add variety to their DIY Patriotic Bunting, crafters might consider using patterned fabrics, such as stripes or stars, to bring additional texture and interest to their decor. For an even more creative touch, they can incorporate other elements like felt stars or glitter paint accents.
Key Takeaways
- DIY Patriotic Bunting is a fun, cost-effective way to decorate for the Fourth of July.
- Families will need basic materials like fabric, scissors, and a sewing machine.
- Following a step-by-step guide ensures a hands-on, rewarding crafting experience.
- Include personal touches with varied patterns and embellishments.
FAQs
1. What type of fabric is best for DIY Patriotic Bunting?
Lightweight cotton fabric is ideal because it’s easy to cut and sew, and it drapes nicely when hung.
2. Can they use a glue gun instead of sewing the bunting?
Yes, a glue gun can be an alternative for those who prefer not to sew, but sewing provides a cleaner, more durable finish.
3. How long does it take to make a DIY Patriotic Bunting?
The time may vary, but it typically takes about 2-3 hours, depending on the complexity and the number of pieces they are making.
4. Where is the best place to hang patriotic bunting?
Bunting can add holiday cheer when hung along porches, balconies, mantles, or fences.
5. Can they wash the bunting fabric?
If needed, they can wash the fabric before cutting to prevent shrinkage. It’s best to hand wash to maintain the bunting’s integrity.
