“`html
Transforming a Refinished Vintage Dresser: A Chic Makeover
For those who love giving old furniture new life, refinishing a vintage dresser is a rewarding project. They can turn an outdated piece into the highlight of a room. With a bit of creativity and some effort, the journey of converting a vintage dresser into a chic statement piece adds charm and character to any home interior.
Why Choose a Refinished Vintage Dresser?
Vintage dressers often feature unique craftsmanship and detailed designs not seen in modern furniture. They can be a sustainable and cost-effective decor option, reducing waste by recycling existing pieces. According to The Balance, recycling furniture can save up to 50% on costs compared to buying new ones.
Materials Needed for Refinishing
- Sandpaper (medium and fine grit)
- Paint or wood stain
- Paintbrushes or a paint sprayer
- Protective gear (gloves and mask)
- Wood filler
- Clear coat or sealer
- Painter’s tape
- Drawer hardware (optional)
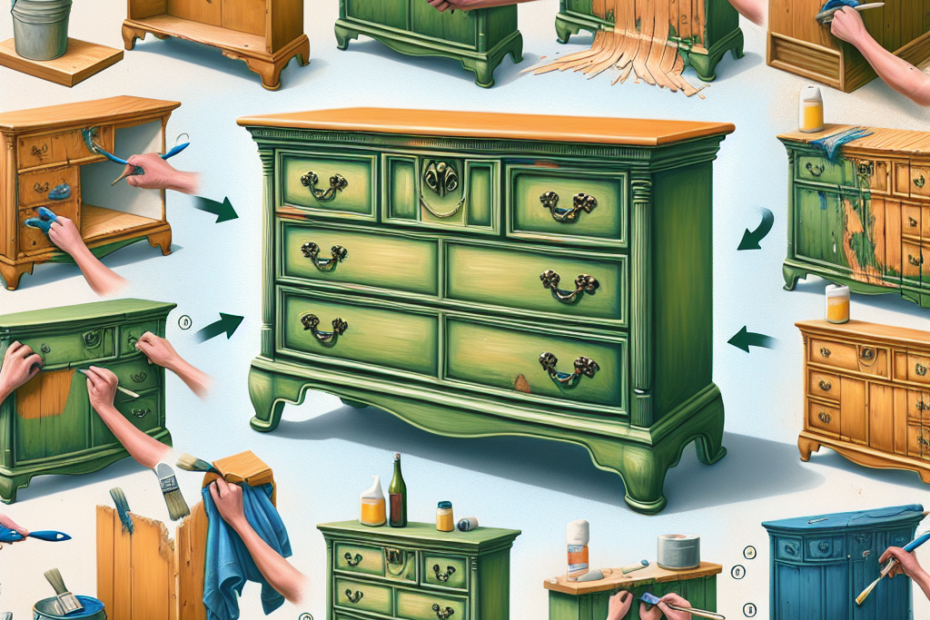
Step-by-Step Refinish Guide
They can follow these straightforward steps to ensure a beautiful and lasting finish:
| Step | Description |
|---|---|
| 1. Preparation | Remove all drawers and hardware. Ensure they have a clean surface to work on by wiping any dust or dirt. |
| 2. Sanding | Use medium-grit sandpaper to remove the old finish and then fine-grit to smooth the surface. Clean off any sanding dust thoroughly. |
| 3. Repair | Fill any imperfections or holes with wood filler. Allow it to dry and sand smooth. |
| 4. Painting or Staining | Apply paint or wood stain evenly with a brush or sprayer. Multiple thin coats are better than one thick coat. Allow each coat to dry before applying the next. |
| 5. Sealing | Apply a clear coat or sealer to protect the surface and give a polished finish. Let it dry completely. |
| 6. Reassemble | Reattach or replace the hardware and put back the drawers. |
Design Tips for a Chic Look
- Selecting Colors: Consider timeless hues like navy, grey, or pastels which are trending in interior design.
- Hardware Accents: Changing handles or knobs can dramatically elevate the dresser’s appeal. Think brass or matte black for a modern touch.
- Adding Details: Stencils or wallpaper can be used inside the drawers for a surprise pop of pattern.
Environmental Impact and Community Involvement
Refinishing isn’t only a fun DIY activity; it also contributes positively to the environment. By repurposing existing furniture, individuals help reduce deforestation and landfill waste. According to Earth Day Network, this eco-friendly practice is a crucial step towards sustainable living. Local community boards or social media groups often organize workshops or share tips, fostering community spirit and engagement in eco-friendly practices.
Key Takeaways
- Refinishing a vintage dresser is sustainable and can save significant money.
- They should carefully prepare, sand, and paint/stain the dresser for the best results.
- Incorporating trends like unique handles or chic colors can enhance the dresser’s appearance.
- This activity fosters environmental awareness by recycling and reusing furniture.
- Community participation can enhance skill sets and spread awareness on sustainable practices.
FAQ
- Can any dresser be refinished?
Yes, most dressers can be refinished unless they have severe damage that compromises their structural integrity. - Is it better to paint or stain a dresser?
It depends on the style they want. Paint offers more color options, while stain highlights the wood’s natural grain. - How long does it take to refinish a dresser?
This can vary, but typically it takes a few days to complete, accounting for drying time between steps. - What safety precautions should they take?
Wear gloves, a mask, and work in a well-ventilated area to avoid inhaling fumes or dust. - Can they refinish a dresser without removing the old finish?
For the best results, they should always remove the old finish to ensure the new paint or stain adheres properly.
“`