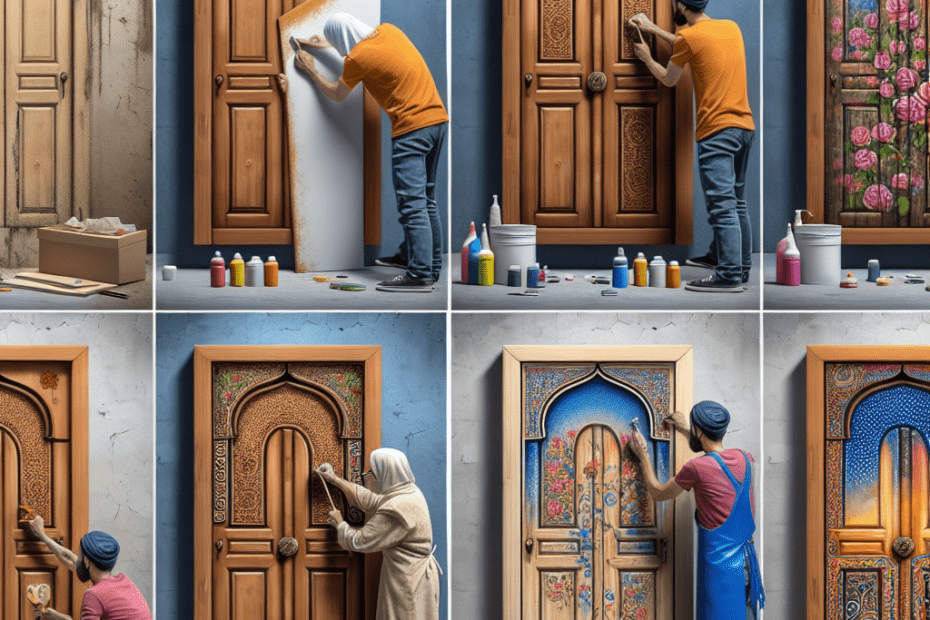
How to Transform Old Cabinet Doors into Decorative Wall Art
They might not think much of those old cabinet doors gathering dust in the garage, but with a little creativity and some readily available materials, they can upcycle them into beautiful wall art. This process not only saves money but contributes to sustainability. According to a report by the National Association of Home Builders, as much as 85% of discarded building materials are recyclable or reusable, which highlights the importance of such initiatives (source).
Materials and Tools Needed for Upcycled Cabinet Door Art
Before embarking on the project, they should gather the necessary tools and materials. Here’s a handy list to get started:
| Materials | Tools |
|---|---|
| Old cabinet door | Screwdriver |
| Paint or wood stain | Paintbrushes |
| Sandpaper | Sandpaper block or electric sander |
| Decorative stencils | Painter’s tape |
| Mod Podge (or similar adhesive) | Scissors |
| Decorative paper or fabric | Hot glue gun |
Steps to Create Upcycled Cabinet Door Art
Transforming cabinet doors into wall art involves several simple steps. Each step requires attention to detail to produce a creative and polished finish.
1. Preparation
They should start by removing any hardware such as handles or hinges. Using sandpaper, they smooth the door’s surface to remove any existing paint or varnish, ensuring a clean and even base for their art.
2. Painting or Staining
Depending on the desired look, they can either paint or stain the door. Stains will preserve the wood’s natural texture, while paint can be used for a bold, colorful impact. Make sure to allow ample drying time between coats for a professional finish.
3. Adding Designs with Stencils
Using stencils can add an artistic flair to their project. They can secure these stencils with painter’s tape and apply contrasting paint colors to create beautiful patterns or designs. This step allows their personality to shine through their art piece.
4. Decorating with Paper or Fabric
Cut pieces of decorative paper or fabric to decorate sections of the door. They can apply a thin layer of adhesive like Mod Podge to secure these pieces onto the wood, offering a vintage or modern touch depending on their choice of pattern.
5. Final Touches
Finally, attach any additional embellishments like fabric flowers or small metal pieces for added detail. They can use a hot glue gun for these applications. Once complete, add hanging hardware to the back of the door so it’s ready to display.
Creative Ideas for Upcycled Cabinet Door Art
Creativity knows no boundaries. Here are some inspiring ideas to consider during the crafting process:
- Creating family photo galleries by securing small picture frames to the door
- Turning doors into chalkboards by using chalk paint, suitable for kitchens or children’s rooms
- Designing a rustic piece with stenciled quotes or phrases
- Using vibrant paints and abstract designs to create modern art pieces
Environmental and Economic Benefits
Beyond personal enjoyment, upcycling cabinet doors into art brings notable environmental and economic advantages. The Environmental Protection Agency reports that the construction and demolition sectors generate over 600 million tons of waste annually in the United States (source). Transforming otherwise discarded materials into art reduces landfill waste and conserves the energy required to produce new materials.
Moreover, upcycled art can be a cost-effective way to enhance home décor. With materials often readily available at home, it reduces the need to purchase new decorative items, saving money and resources.
Key Takeaways
Upcycling old cabinet doors into wall art is a creative and environmentally friendly activity. With simple tools and materials, they can turn unused doors into beautiful art pieces that reflect their personal style. This project not only enriches the home environment but also contributes to sustainability efforts by reducing waste.
FAQs
Q1: What types of paint work best for this project?
A1: Acrylic paint works well for its durability and vibrant colors. Chalk paint is also a popular choice for its matte finish and versatility.
Q2: Can they use different kinds of wood stains on the cabinet doors?
A2: Yes, they can choose from a wide range of wood stains to match or contrast with existing home décor.
Q3: How long does the entire process take?
A3: The process typically takes a few days, allowing for drying time between paint or stain coats.
Q4: Is it necessary to remove hardware before starting the project?
A4: Yes, removing hardware ensures a smoother finish and allows for a more uniform paint or stain application.
Q5: How can they ensure the art piece lasts long after completion?
A5: They should use a sealant over the finished project to protect against dust and moisture, preserving the art’s integrity over time.
