“`html
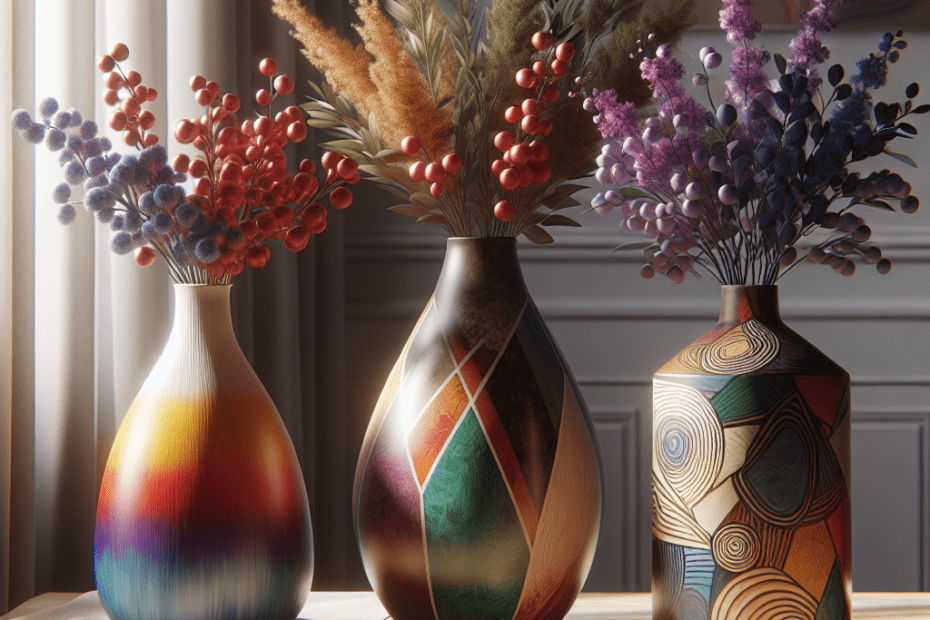
Creating Stylish Floral Displays with DIY Hand-Painted Vases
In a world buzzing with creativity, art enthusiasts often look for personalized projects to add aesthetic value to their homes. DIY Hand-Painted Vases serve as a wonderful option to enhance home decor. These custom-designed pieces not only express the artist’s personality but also make floral arrangements even more stylish and eye-catching.
Why Choose DIY Hand-Painted Vases?
They might wonder why spend time painting vases when numerous designs are easily available in stores. The answer lies in personalization. According to Statista, around 58% of Americans enjoy participating in creative hobbies. It’s a way to express oneself uniquely and create something that captures personal tastes and ideas.
Materials Required for DIY Hand-Painted Vases
To embark on this creative journey, they don’t need many materials. Here’s a basic list to get started:
| Item | Description |
|---|---|
| Plain Glass or Ceramic Vase | Choose size and shape as per preference |
| Acrylic Paints | Versatile and suitable for glass or ceramic |
| Paintbrushes | Various sizes for detailed work |
| Painter’s Tape | For creating clean lines and patterns |
| Clear Sealer | To protect the painted design |
Ensure they have a sanitized workspace and wear old clothes or an apron, because painting can get messy!
Steps to Create a DIY Hand-Painted Vase
1. Prepare the Vase
First and foremost, they need to clean the vase thoroughly to remove any dust or grease. This ensures that the paint adheres properly to the surface. It’s best to wipe the vase with alcohol and let it dry completely.
2. Design and Tape
Encourage them to sketch their design on paper first. Once they’re happy with it, they can use painter’s tape to outline patterns or block off areas they don’t want to paint. This step is crucial for geometric designs or straight lines.
3. Start Painting
Using the brushes and the chosen acrylic paints, they can now carefully apply their design to the vase. It’s important to let each color dry before applying the next to prevent smudging. Patience is key here!
4. Add Details
Once the base coat is dry, they can use smaller brushes to add intricate details. Simply switching to a thinner brush allows for more precision and creativity in the design process.
5. Sealing the Design
After the paint is entirely dry, applying a clear sealant helps protect their design from chipping and wear, ensuring longevity. Allow the sealant to dry as per the manufacturer’s instructions before displaying the vase.
Displaying Their Art
With their hand-painted masterpiece ready, the next step is displaying it with a tasteful floral arrangement. They can experiment with different flowers to complement their vase’s colors and patterns. Whether gracing a dining room table or a cozy nook, these vibrant displays are sure to draw admiration from guests.
Key Takeaways
- DIY Hand-Painted Vases allow for personalized art pieces that reflect the creator’s unique style.
- Basic materials needed include a plain vase, acrylic paints, brushes, painter’s tape, and a sealer.
- Following a step-by-step process ensures a clean, professional look even for beginners.
- It’s a budget-friendly activity that not only beautifies a space but also is mentally rewarding.
FAQs
- What kind of paint should be used for painting vases?
Acrylic paint is the best choice as it adheres well to both glass and ceramic surfaces. - Is it necessary to seal the painted design?
Yes, using a clear sealant protects your artwork from scratches and wear over time. - Can children participate in making DIY Hand-Painted Vases?
Yes, with proper supervision, it’s a fun and creative activity for children as well. - How long does the paint need to dry?
This depends on the type of paint; typically, acrylic paint takes about an hour to dry before you can handle the vase. - Where can they buy suitable materials for this project?
Craft stores, online platforms, and department stores usually carry all the supplies needed.
“`
This article provides a comprehensive guide to starting a DIY hand-painted vase project, emphasizing the materials, process, and creative expression involved. The FAQs section addresses common concerns, making the DIY approach more accessible and enjoyable.
