Introduction
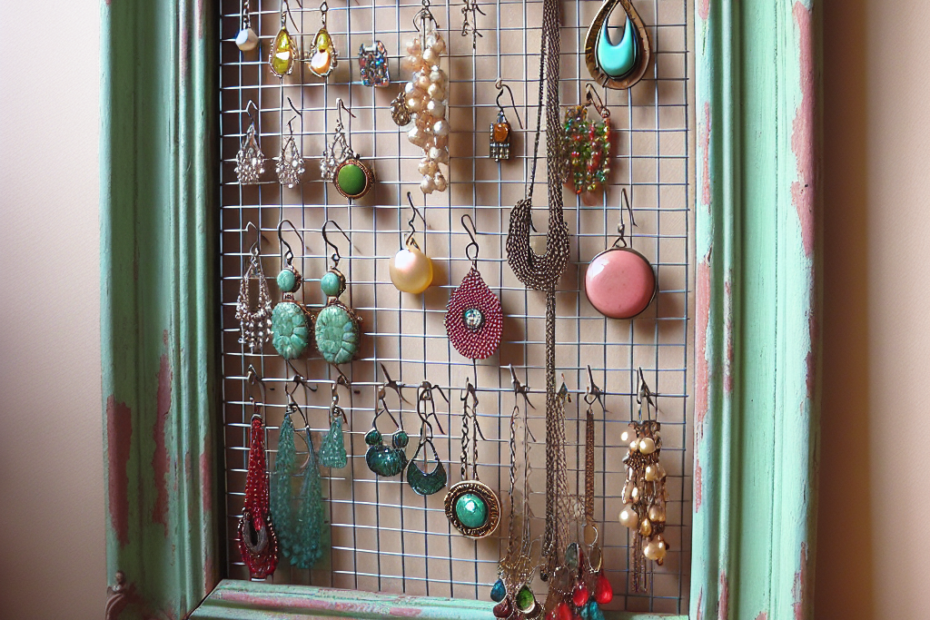
They always seem to find creative ways to revamp old items around the house. Recently, they have discovered an ingenious method to create a DIY jewelry organizer from old frames. This creative project not only helps declutter their jewelry collections but also offers a sustainable solution by repurposing old materials. Their enthusiasm for DIY projects is not uncommon; in fact, according to a recent survey by Statista, about 61% of people in the U.S. engage in some form of home improvement, including crafting projects like jewelry organizers. (source)
Materials Needed
Before they begin crafting their organizer, they’ll need to gather a few materials. Here is a list to help them prepare:
- Old picture frames (any size they prefer)
- Wire mesh or chicken wire
- Staple gun and staples
- Hooks, knobs, or small dowels
- Paint or wood stain (optional)
- Fabric or corkboard (optional)
- Hot glue gun (if using fabric)
- Scissors and wire cutters
Step-by-Step Guide
| Step | Description |
|---|---|
| 1 | Prepare the Frame: Remove the glass and backing from the picture frame. Clean it thoroughly. |
| 2 | Cut the Wire: Measure and cut the wire mesh to fit inside the frame, ensuring it covers the full opening. |
| 3 | Attach the Wire: Use the staple gun to attach the wire mesh securely at the back of the frame. |
| 4 | Customize: They may paint or stain the frame to match their décor. |
| 5 | Add Hooks and Knobs: Attach hooks or knobs at the bottom of the frame for hanging necklaces. |
Enhancements and Personal Touches
They might want to get creative and give their DIY jewelry organizer a personalized touch. Adding fabric or corkboard behind the mesh can provide a softer look and allow pins to hold earrings. For an extra decorative flair, embellish the frame with beads, shells, or glitter. Personalizing the organizer not only makes it uniquely theirs but also complements the overall aesthetic of their room.
Benefits of DIY Jewelry Organizers
Creating their own jewelry organizer not only helps manage clutter but also offers several benefits:
- Cost-effective: They save money by using items they already have or can acquire cheaply.
- Environmental Impact: By reusing materials, they contribute to a sustainable lifestyle and reduce waste.
- Customization: They can design the organizer to fit their personal style and space requirements perfectly.
Key Takeaways
- Creating a DIY jewelry organizer from old frames is a creative and sustainable project.
- The process involves simple steps and requires basic materials that many may already have at home.
- Personalizing the organizer allows them to match their individual style and home decor.
- This project is cost-effective, environmentally friendly, and customizable.
FAQs
- What type of frame should they use?
Any frame can be used, but sturdier frames, such as those made from wood, work best for stability. - Can they use other materials instead of wire mesh?
Yes, they can use fabric with a strong backing or corkboard for a different look. - How do they clean the jewelry organizer?
They can dust the organizer lightly with a soft cloth to avoid damaging the jewelry. - Is painting the frame necessary?
No, painting is optional. It is purely for aesthetic customization. - Where should they hang the DIY jewelry organizer?
Hang it in a place that is easily accessible, such as in the bedroom or closet, where they can easily access their jewelry collection.
