“`html
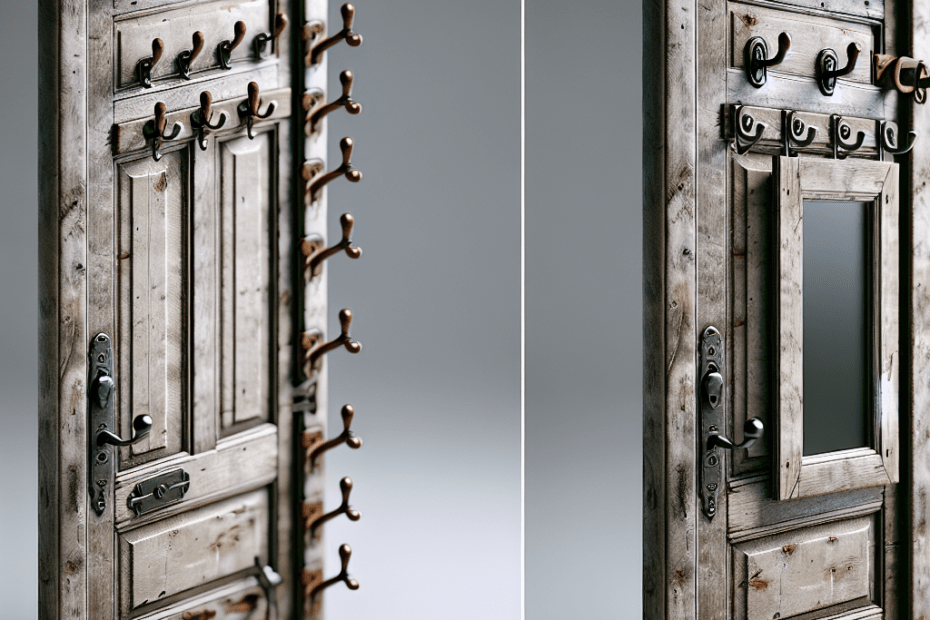
Old doors can become striking pieces of home decor when given a new purpose. With a touch of creativity, an upcycled door coat rack not only finds new life but also brings functionality and charm to any space. Embracing this transformation aligns with the growing trend of upcycling, which aims to elevate discarded items into valuable household pieces.
People around the world are constantly searching for unique home accessories that reflect their personal style. This is evident from a report by Statista, which claims that the DIY furniture market is expected to grow by 4.3% annually, highlighting people’s interest in personalized home projects. By turning old doors into coat racks, they can participate in this movement while reducing waste.
Materials and Tools Required
Creating an upcycled door coat rack doesn’t require a massive toolkit or special skills. Here’s what most need to begin:
- Old wooden door
- Sandpaper
- Paint or wood stain
- Paintbrush or roller
- Hooks (optional: vintage or decorative)
- Screwdriver and screws
- Level
- Measuring tape
- Drill
Use these materials and tools to bring a touch of art and functionality to their door project. It’s a minimal yet efficient list ensuring that the process is smooth from start to finish.
Steps to Create the Upcycled Door Coat Rack
Step 1: Preparing the Door
Firstly, they will need to clean the old door thoroughly. Dust and grime often sit on surfaces of forgotten treasures. Using sandpaper, they should smooth out any rough spots, which helps the paint or stain to adhere well.
Step 2: Painting or Staining
With the door clean, it’s time to decide on the finish. While paint provides a pop of color, a wood stain maintains the door’s natural beauty. When applying paint or stain, ensure even strokes to avoid streaks. Let the door dry completely before moving forward.
Step 3: Planning the Design
Before attaching the hooks, planning the layout is essential. Using a measuring tape, they should decide how many hooks are needed and their spacing. A level ensures these hooks align perfectly, creating an aesthetically pleasing arrangement.
Step 4: Installing the Hooks
After measuring and marking, drill pilot holes for the screws. This step makes attaching the hooks more straightforward and prevents the wood from splitting. Align each hook with the holes and fasten them securely using screws and a screwdriver.
Step 5: Finishing Touches
Before mounting the coat rack, ensure everything is secure and the paint or stain has dried completely. If desired, additional decorative elements can be added, such as vintage knobs or a small shelf for added practicality.
Environmentally Friendly Approach
Upcycling an old door into a coat rack is not just about creativity; it contributes to environmental conservation. According to the EPA, recycling and upcycling can significantly reduce waste, contributing to over 75 million tons recycled annually. By engaging in projects like these, individuals help divert waste from landfills, promoting sustainability.
Costs Involved
Undertaking a project like this does not need to be expensive. Here’s a rough cost estimate for an upcycled door coat rack:
| Item | Estimated Cost |
|---|---|
| Old Door | $0 – $30 |
| Sandpaper and Paint/Stain | $10 – $20 |
| Hooks | $10 – $40 (depends on style) |
| Additional Tools (if needed) | $20 – $50 |
The total cost can range from $30 to $150, much more affordable than buying a brand-new decorative coat rack from a store.
Key Takeaways
- An upcycled door coat rack is a practical and eco-friendly addition to any home.
- The DIY approach allows personal creativity to shine while costing significantly less.
- Participating in DIY projects contributes to sustainability and waste management efforts.
FAQs
- Q1: Can any type of door be used?
A: Yes, though wooden doors are easier to sand and finish. Avoid metal unless prepared for different tools and techniques.
- Q2: Is it possible to attach a mirror to the door?
A: Absolutely! A small mirror can be attached to the door with appropriate adhesives or mounting brackets.
- Q3: How do I ensure the door doesn’t topple over once complete?
A: Secure it on a stable wall using strong brackets or wall anchors for safety.
- Q4: Are there ways to add more storage options?
A: Consider adding shelves or small baskets attached to the door for additional storage.
- Q5: How can I match the door with existing home decor?
A: Choose paints or stains in complimentary colors and consider using hooks and knobs that match other elements in the room.
“`
