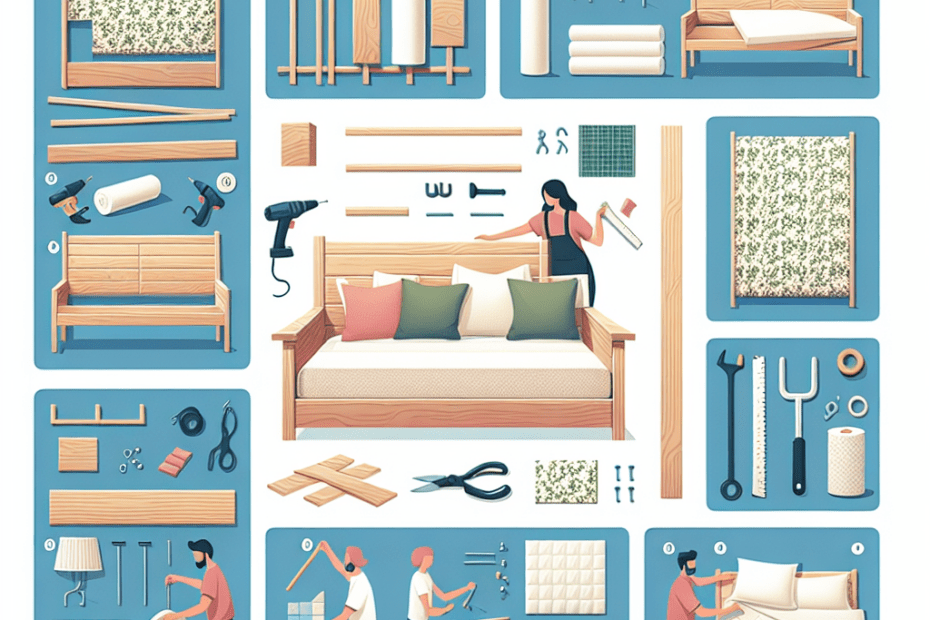
Transform Your Bedroom with a DIY Fabric Headboard
Many people want to refresh their bedroom without spending a fortune. Crafting a DIY fabric headboard is a chic and cost-effective way to enhance their space. This simple project can be completed over a weekend and offers a personalized touch that suits their style.
Why Choose a DIY Fabric Headboard?
A fabric headboard brings elegance and texture to any bedroom. According to Statista, 35% of homeowners prefer personalizing their living spaces, which often includes upgrading furniture. Headboards serve as a focal point in the bedroom, making them an ideal candidate for a stylish update. By choosing to create a DIY version, individuals not only save money but also get the satisfaction of building something tailor-made.
Gathering Supplies
To make the process smooth, gather all necessary tools and materials first. Here’s a handy table to keep track of what you’ll need:
| Materials | Tools |
|---|---|
| Fabric (enough to cover the headboard) | Staple gun |
| Plywood (cut to desired size) | Hammer |
| Batting or foam padding | Measuring tape |
| Upholstery staples | Scissors |
| Glue (optional) | Saw (if cutting your own plywood) |
Step-by-step Instructions
1. Measure the Bed
Determine the width of the bed to ensure the headboard will fit perfectly. A well-measured headboard aligns with the bed frame, creating a polished appearance.
2. Cut the Plywood
If the plywood isn’t pre-cut, use a saw to reach your desired dimensions. Remember, the headboard should be slightly wider than the bed for an elegant overhang.
3. Add Padding
For a plush look, layer batting or foam on top of the plywood. Secure it to the board using a staple gun, making sure the material is evenly distributed.
4. Attach the Fabric
Carefully lay the chosen fabric over the padding. Pull it taut to avoid any wrinkling or sagging over time. Secure the fabric with the staple gun, starting from the center and moving outwards.
5. Optional Finishes
For those who prefer added details, consider using decorative nails or buttons. These accents can be applied to the surface of the headboard to introduce texture and character.
Secure and Display
Once the headboard is complete, it’s ready to be mounted. Lean it against the wall or securely attach it to the bed frame to ensure it stays in place. Remember, safety first!
Benefits of a Custom Headboard
Having a headboard designed to one’s taste makes a statement. A unique headboard not only elevates room aesthetics but also provides additional comfort and support when sitting up in bed.
Additional Tips
- Choose a durable fabric that matches room decor and withstands wear.
- If reusing materials, ensure they are in good condition to avoid future repairs.
- Integrate colors from existing decor to create a cohesive design.
Key Takeaways
- A DIY fabric headboard can upgrade a bedroom’s look quickly and cost-effectively.
- The project requires basic materials and tools, many of which are often found at home.
- Custom designs allow for personalized and unique styles that echo personal taste.
FAQ
- How long does it take to make a DIY fabric headboard?
Most individuals can complete the project in a weekend. - What type of fabric is best for headboards?
Upholstery fabrics like linen, cotton, or velvet are durable and stylish choices. - Can a fabric headboard be cleaned easily?
Yes, use a vacuum or fabric cleaner as per the fabric type to maintain it. - Is it cheaper to make a headboard or buy one?
Typically, making one is more economical, especially if materials are repurposed. - Can this project be done without power tools?
Yes, pre-cut materials can eliminate the need for power tools like saws.
