“`html
Transforming an Old Desk Into a Modern Showcase: A Refinished Desk DIY Guide
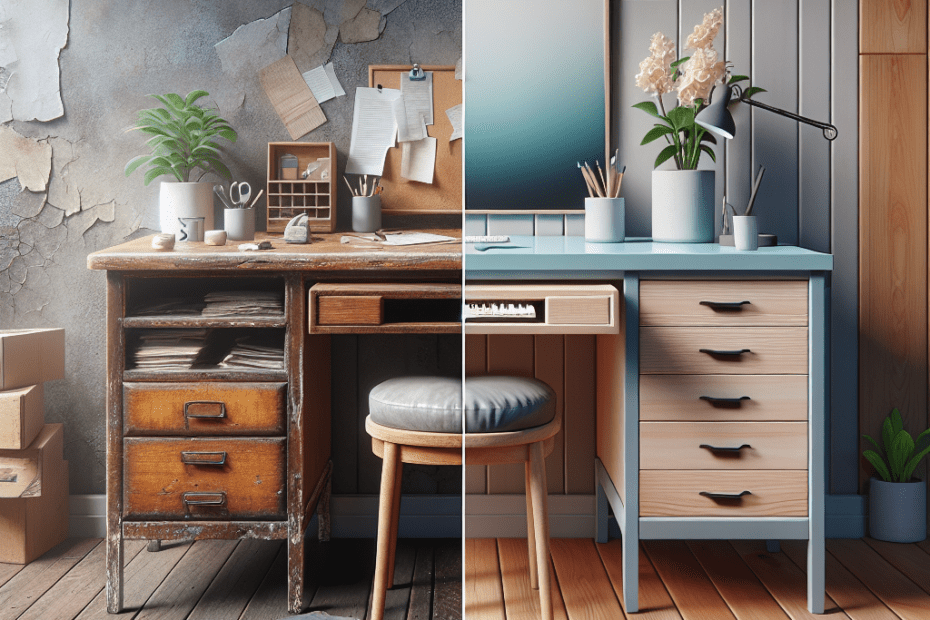
They found an old, forgotten desk in the corner of their garage, covered in dust with scratches and marks all over its surface. Yet, in their eyes, it holds promise—the promise of a Refinished Desk DIY project that could breathe new life into this piece of furniture.
Refinishing an old desk not only saves money but also extends the item’s life span. According to a report by Statista, Americans spent over $119 billion on furniture and bedding in 2021. Instead of buying a new desk, tackling a DIY refinishing project can help reduce waste and promote sustainability. Plus, it serves as a creative outlet, allowing them to customize a piece of furniture to fit their modern style perfectly.
Preparing for the Refinished Desk DIY Project
Before diving into the refinishing process, it’s essential for them to gather the necessary supplies and prepare the workspace. A well-organized setup ensures efficiency and safety, making the project both enjoyable and less prone to mishaps.
Materials and Tools Required
| Materials | Tools |
|---|---|
| Wood stain or paint | Sandpaper (various grits) |
| Wood filler | Paintbrushes |
| Protective finish (varnish or sealant) | Screwdriver |
| Cleaning supplies | Sanding block or electric sander |
They should ensure the workspace is well-ventilated, as the fumes from paints and finishes can be strong. Additionally, protective gear like gloves and masks are recommended for safety.
The Refinishing Process: Step-by-Step
1. Assessing and Cleaning the Desk
To begin the refinishing process, they should thoroughly clean the desk, removing any dust, grime, or cobwebs. A simple mix of mild soap and warm water typically suffices. After cleaning, they’ll need to assess the desk for any damage. Scratches, dents, or missing pieces should be noted and repaired using wood filler.
2. Sanding Down the Old Finish
Sanding is crucial as it removes the old, worn-out finish and prepares the surface for new paint or stain. They should start with a coarser grit sandpaper to strip the old finish and gradually move to finer grits for a smoother surface. An electric sander can expedite this process, but corners and intricate details might require manual sanding.
3. Applying a New Finish
Once sanded, the desk is ready for a new finish. They can choose between stain or paint, depending on the desired look. Staining preserves the wood grain and offers a natural appearance, while paint provides a variety of colors for a modern feel. Using even brush strokes, they should apply the finish evenly and let it dry thoroughly before proceeding.
4. Protecting the Finished Surface
After the stain or paint has dried, applying a protective finish such as varnish or a clear sealant will protect the desk from future wear and tear. They should apply multiple thin coats, allowing each coat to dry completely before applying the next.
5. Assembling and Giving a Final Touch
Once the protective finish is set, they can proceed to replace any hardware or attach additional features like drawer knobs or handles. A final wipe-down ensures the desk is clean and ready for use. They might also consider adding personal touches like decals or stencils to enhance the desk’s modern appeal.
Incorporating Modern Style
To ensure the desk aligns with contemporary aesthetics, they should consider the entire space where the desk will reside. Choosing complementary accessories, such as a modern desk lamp or sleek chair, can tie the whole look together. Additionally, integrating technology-friendly features, such as a built-in charging station or cable management system, can add both functionality and modern flair.
Key Takeaways
- Refinishing an old desk is cost-effective and sustainable.
- Proper preparation and sanding are keys to a successful Refinished Desk DIY.
- Choosing the right finish—paint or stain—will define the modern look.
- Protective coatings ensure the longevity of the refinished surface.
- Modern accessories enhance the desk’s final appearance and functionality.
FAQs
- What is the best type of finish for a desk?
Wood stain offers a classic look, while paint provides a variety of color options for a modern finish. - How long does it take to refinish a desk?
Typically, it requires a weekend to complete, allowing sufficient drying time between steps. - Is it necessary to use a protective sealant?
Yes, a sealant protects the new finish from scratches and increases durability. - Can I refinish a laminated desk?
Yes, but it requires a special primer designed for laminate surfaces before applying paint. - What if the desk has intricate carvings?
Use a smaller brush for painting and a manual sanding block to carefully sand the intricate areas.
“`
