Introduction
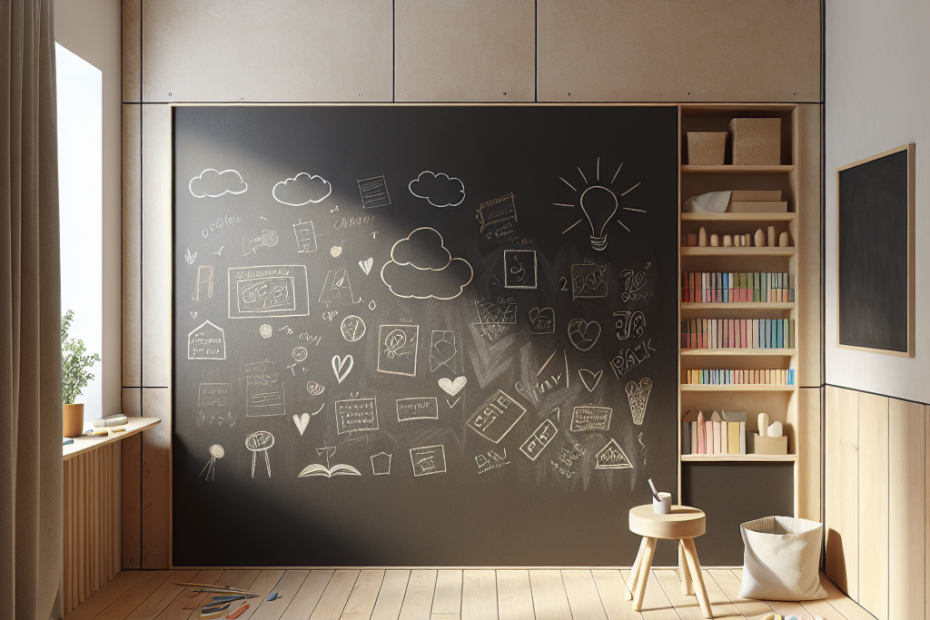
In today’s world of home design, they often seek creative and engaging ways to add personality to their living spaces. One popular trend is creating a DIY Chalkboard Wall for a fun home feature. Such a wall not only serves as a unique decorative element but also offers a functional space for lists, doodles, or artistic expression. According to an article from Houzz, 54% of homeowners are embracing DIY projects to add personal touches to their homes.
Why Choose a DIY Chalkboard Wall?
Those interested in home improvement may wonder why they should consider installing a chalkboard wall. There are several reasons:
- Versatility: Use the wall for family messages, shopping lists, or as a creative sketch space for kids.
- Affordability: Compared to other decorative elements, chalkboard walls are budget-friendly and can be a weekend project.
- Reusability: Easily wipes clean for a fresh start, making it a sustainable option.
Materials and Tools Needed
| Material | Purpose |
|---|---|
| Chalkboard paint | Specially formulated paint for turning surfaces into chalkboards |
| Primer | Ensures paint adheres well to the wall |
| Paint roller/brush | Tools for applying the primer and chalkboard paint |
| Painter’s tape | To create defined borders and protect adjacent areas |
| Sandpaper | To smooth the wall surface before painting |
| Drop cloths | Protects flooring from paint drips and spills |
Step-by-Step Guide to Creating a Chalkboard Wall
Follow these steps to create your own DIY Chalkboard Wall:
Step 1: Choose the Right Wall
Select a smooth, well-lit wall free of imperfections. This not only ensures a clean surface for writing but also improves visibility.
Step 2: Gather Materials
Use the table above to gather all necessary materials and tools. Having everything on hand speeds up the project.
Step 3: Prepare the Surface
Remove nails or screws and smooth any holes with spackling paste. Sand the wall for evenness, then clean it thoroughly to remove dust and debris.
Step 4: Tape and Prime
Use painter’s tape to outline the chalkboard area, ensuring straight edges. Apply primer and let it dry fully according to the product’s instructions.
Step 5: Apply Chalkboard Paint
With a roller, apply the first coat of chalkboard paint evenly. Let it dry as recommended by the manufacturer before applying a second coat for a solid finish.
Step 6: Cure the Chalkboard
Allow the paint to cure completely, usually 72 hours. Before regular use, rub a piece of chalk over the entire surface to condition it, then wipe it clean.
Key Takeaways
- Creating a DIY Chalkboard Wall is a versatile and affordable home project.
- Necessary materials include chalkboard paint, primer, and paint tools.
- Preparing the wall and applying multiple layers ensures a durable finish.
FAQs
1. How long does it take to create a DIY Chalkboard Wall?
The process typically takes a weekend, including drying and curing times.
2. Can they use any color paint for a chalkboard wall?
Chalkboard paint comes in various colors, though black and green are classic choices.
3. What if the chalkboard surface becomes difficult to erase?
If the surface is hard to clean, a damp cloth or specialized eraser can help remove stubborn marks.
4. Do they need a specific type of chalk?
Regular non-oil pastels work best, ensuring easier cleaning of the surface.
5. Can they use a chalkboard wall in outdoor spaces?
Chalkboard walls are best suited for indoor environments to protect them from weather elements.
Conclusion
By following this guide, they can successfully create a DIY Chalkboard Wall that serves as both a creative outlet and functional feature in their home. Whether used in the kitchen, living room, or a child’s bedroom, this inventive project adds charm and interactivity to any space.
