“`html
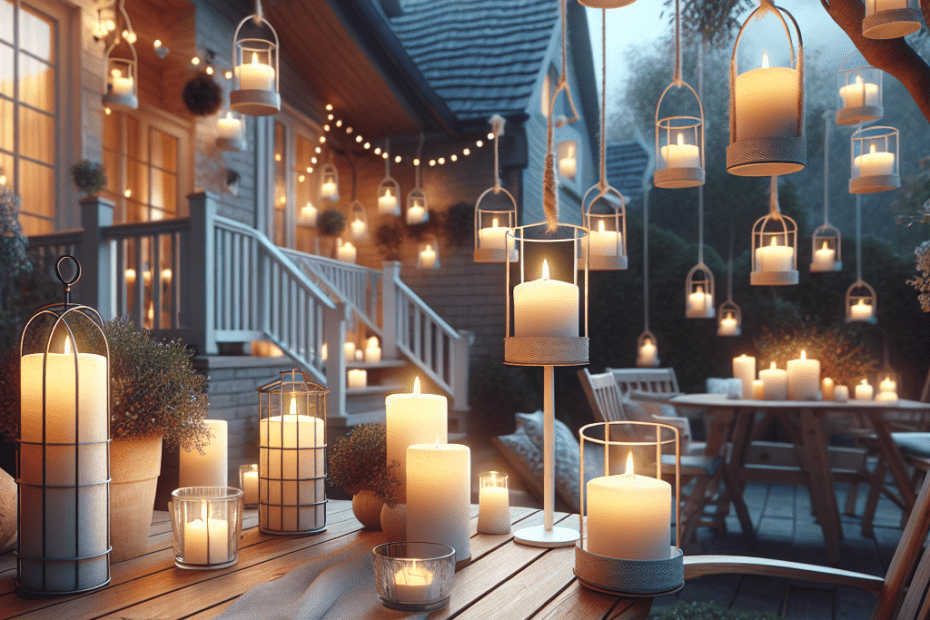
Spending time on the patio becomes much more enchanting when there are gentle flickers of candlelight casting warmth and charm all around. “DIY Outdoor Candle Holders” can transform even the simplest outdoor space into a cozy retreat. With a few materials, some basic crafting skills, and a bit of creativity, creating your own candle holders for the outdoors is an engaging and rewarding project.
The Appeal of DIY Candle Holders
Creating DIY Outdoor Candle Holders allows people to customize their outdoor space to reflect personal style and flair. According to a survey by the Craft & Hobby Association, 56% of households engage in crafting projects in their personal time, with over 30% focusing on home décor projects. This trend highlights the growing interest in DIY home improvements. By crafting candle holders themselves, they not only save money but also add a personal touch that is unique and inviting.
Materials and Tools Required
Before starting the project, it’s essential to gather the right materials and tools. Here’s a simple table to help get organized:
| Materials | Tools |
|---|---|
| Glass jars | Hot glue gun |
| Twine or rope | Scissors |
| Pebbles or sand | Paintbrush |
| Acrylic paint | Paint palette |
| Tealight candles | Safety glasses |
Step-by-Step Guide
1. Preparing the Glass Jars
First, they need to clean the glass jars thoroughly to remove any adhesive or labels. They can soak them in warm, soapy water for easy label removal. Ensure they are completely dry before moving on to the next step.
2. Decorating with Twine
Using a hot glue gun, they can attach one end of the twine to the bottom edge of the jar and wrap it around, applying glue at intervals to secure it. This adds a rustic and natural touch to the candle holders.
3. Adding Color
They can use acrylic paint to add splashes of color or intricate designs that match their outdoor space. Applying several coats, if necessary, ensures vibrant and lasting results. From delicate pastels to bright, bold colors, the choice is theirs.
4. Filling with Pebbles or Sand
To stabilize the candle, they can add pebbles or sand to the bottom of the jar. This not only keeps the candle steady but also introduces an earthy element to the design.
5. Placing the Candle
Finally, place a tealight candle in the center of the jar. They should ensure it is well-anchored by the surrounding pebbles or sand. Once all these steps are completed, their DIY Outdoor Candle Holders are ready to light up the night.
Key Takeaways
- DIY Outdoor Candle Holders help personalize and decorate outdoor spaces economically.
- The project requires basic materials like glass jars, twine, pebbles, and paint.
- Following a few simple steps can yield beautiful, custom-designed candle holders.
FAQ about DIY Outdoor Candle Holders
- 1. What type of candles should be used in outdoor candle holders?
- Tealight candles are recommended as they are small, safe, and fit easily in most holders.
- 2. Can they use other materials besides twine to decorate the jars?
- Yes, they can use ribbons, lace, or even small shells to create unique designs.
- 3. How can they ensure the candles remain lit outdoors?
- Using jars with higher edges can shield the flame from wind, and ensuring the candle fits snugly within the pebbles or sand can help as well.
- 4. Are there safety precautions to consider?
- Always place candle holders on stable surfaces and never leave them unattended while lit.
- 5. Can they make scented DIY outdoor candle holders?
- Yes, they can use scented tealight candles or add a few drops of essential oil to the pebbles or sand.
“`
