“`html
Introduction
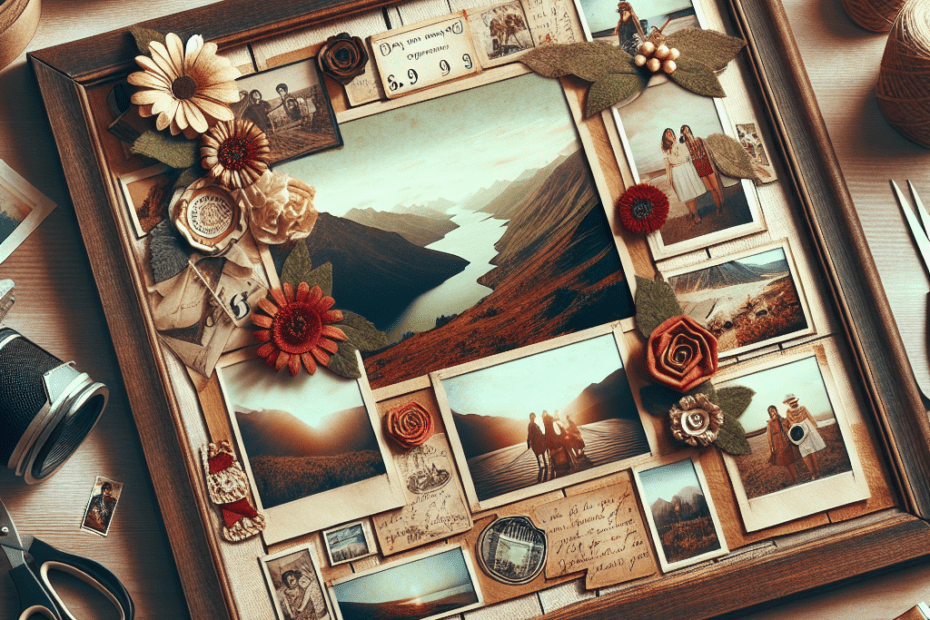
They often seek creative and budget-friendly ways to decorate their homes. One of the most popular trends is creating DIY Picture Collage Frames. These vintage-style frames not only serve as beautiful wall art but also preserve cherished memories in an artistic manner.
According to a report by the Craft & Hobby Association, 62% of crafters love engaging in DIY projects because it allows them to personalize their homes and express individuality (source: Craft & Hobby Association, 2022).
Materials Needed for DIY Picture Collage Frames
Creating your own picture collage frames is simple and requires minimal materials that are often inexpensive. Here is a list of materials they might need:
| Materials | Estimated Cost |
|---|---|
| Wooden frame | $5 – $15 |
| Sandpaper | $3 – $5 |
| Acrylic paint/wood stain | $4 – $10 |
| Old photographs/prints | Varies |
| Glue or Mod Podge | $3 – $8 |
| Paintbrushes | $2 – $12 |
Steps to Create a Vintage-Style Picture Collage Frame
The process of making a DIY Picture Collage Frame is straightforward. They can follow these steps to craft their personalized vintage-style frame:
Step 1: Sand and Prepare the Frame
They should start by sanding the wooden frame to achieve a smooth surface. This step ensures that the paint or stain adheres properly. A medium-grit sandpaper should work well for this purpose.
Step 2: Apply Paint or Stain
Once the frame is prepped, they can apply their choice of antique-style paint or wood stain. Opting for soft pastel shades or distressed finishes can add a vintage look. Allow the finish to dry thoroughly.
Step 3: Arrange the Photos
It’s crucial to lay out the photographs before attaching them to ensure a balanced and appealing look. Start by placing larger photos and then fill the gaps with smaller ones.
Step 4: Attach Photos with Glue or Mod Podge
They should use a strong adhesive like Mod Podge to attach the photographs to the frame, ensuring each photo is secure. A thin layer applied with a paintbrush will work effectively.
Step 5: Seal the Collage
To protect the photos and give the frame a polished look, they can add a final coat of Mod Podge over the entire collage. This will act as a seal and gloss finish.
Enhancing Vintage Design with Additional Elements
They can make their frames stand out by incorporating additional elements. Consider these ideas for adding flair:
- Decorative Edging: Use lace or washi tape around the edges for added texture.
- Incorporate Text: Apply vintage-style stencils to add meaningful quotes.
- Embroidery: Stitch small designs on the photos’ edges for an additional artistic touch.
Benefits of DIY Picture Collage Frames
Besides the aesthetic value, creating DIY Picture Collage Frames offers several benefits:
- Cost-Effective: An affordable way to create custom decor without breaking the bank.
- Personal Touch: Every collage is unique and can be tailored to showcase their personal story.
- Engaging Activity: Crafting is therapeutic and can be a fun family project.
Statistics and Popularity
Their love for personalized home decor is soaring. Surveys suggest that over 70% of millennials prefer customized items for their home spaces (source: Home Decor Trends Report, 2022). DIY projects offer an opportunity to achieve this personalization without high costs.
Key Takeaways
- DIY Picture Collage Frames are an affordable way to personalize home decor with a vintage touch.
- Simple materials like paint, old photographs, and Mod Podge can be used to create unique frames.
- Add decorative elements like lace or personalized texts to enhance the vintage design.
- Such projects are not only cost-effective but also offer emotional and creative satisfaction.
Frequently Asked Questions (FAQs)
1. What type of photos work best for a vintage-style frame?
Black and white or sepia-toned photographs typically emphasize a vintage style, but any cherished photo can fit this design.
2. Can they use digital prints for the collage?
Yes, digital prints can be used. They just need to be printed on high-quality paper for the best results.
3. Is Mod Podge safe for use on photographs?
Yes, Mod Podge is safe and commonly used to seal crafts and photographs, ensuring they are protected over time.
4. How long does it take for the frame to dry completely?
Depending on the materials used, they should allow 24 hours for the paint and glue to dry completely for best results.
5. Can children participate in making these frames?
Absolutely, with adult supervision, children can help position photographs and contribute creative ideas for the design.
“`
This SEO-optimized blog post offers a detailed yet approachable guide on crafting DIY Picture Collage Frames with a vintage flair, complete with step-by-step instructions, optional enhancements, and a comprehensive FAQ section.
