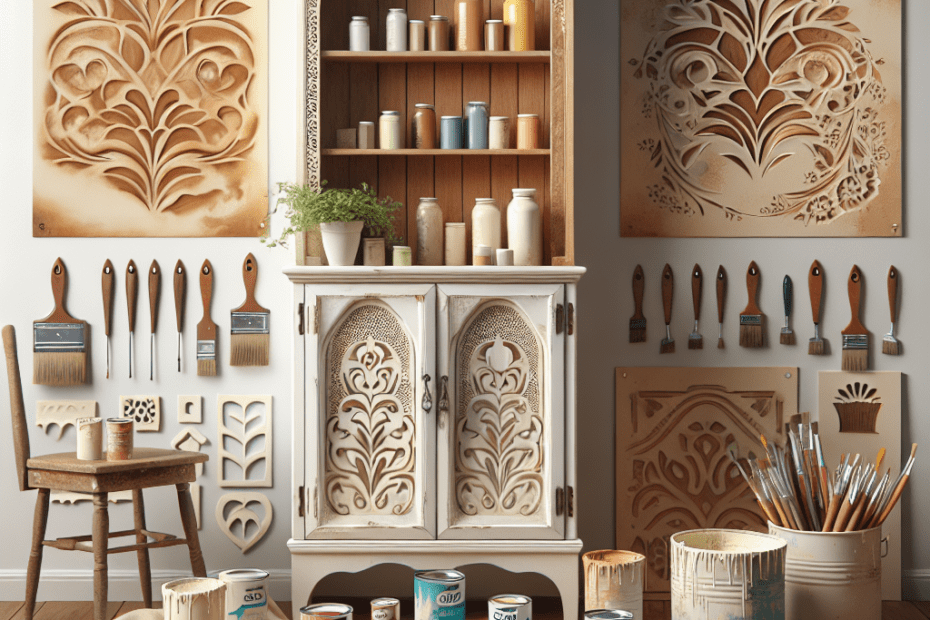
“`html
Many people look at their old cabinets and think about getting something new. However, there is an affordable and creative solution: a repainted cabinet DIY project. By using paint and stencils, they can transform a tired old cabinet into a statement piece in any room. This project not only saves money but also allows them to showcase their personal style.
The Benefits of Repainting Cabinets
Repainting cabinets is an economical alternative to buying new ones. According to Houzz, homeowners can save up to 60% on their remodeling budget just by opting to repaint their cabinets. This is a significant saving, and when paired with stenciling, the cabinets receive a bespoke design touch.
Getting Started on Your DIY Cabinet Project
Before diving into the painting process, it’s essential to gather the right materials. Here is a list of basic supplies needed for this project:
| Materials Needed |
|---|
| Sandpaper or a sanding block |
| Primer |
| Paint (choose your color) |
| Paintbrushes and rollers |
| Painting tape |
| Stencil of choice |
| Topcoat (sealant) |
| Old sheets or newspapers (for protection) |
Step-by-Step Instructions
Step 1: Preparation
It is crucial to start with a clean surface. They should remove all hardware, such as knobs and handles, and wash the cabinet surfaces with a gentle soap solution. Once dry, they can sand the surface to remove any old paint or varnish, ensuring the primer adheres well.
Step 2: Priming
Applying a coat of primer is essential for a smooth finish. It helps the paint adhere better and can hide any imperfections. They should allow the primer to dry completely according to the manufacturer’s instructions before proceeding.
Step 3: Painting
Using their chosen paint color, they should use even brush strokes or rollers to apply the first coat. It’s better to apply multiple thin coats rather than one heavy coat to avoid drips and attain a polished look. Make sure each layer is dry before applying the next.
Step 4: Stenciling
Once the paint is dry, they can place their stencil on the cabinet. Using a contrasting paint color, they should carefully apply the stencil paint with a sponge or stencil brush. After removing the stencil, it’s essential to allow the painted design to dry thoroughly.
Step 5: Applying a Topcoat
To protect their newly painted cabinet, they should apply a topcoat or sealant. This will shield the surface from scratches and stains, preserving their work for years.
Key Takeaways
- Repainting and stenciling old cabinets is cost-effective and customizable.
- Proper preparation, like cleaning and priming, is vital for a smooth finish.
- They should take their time with painting and allow each layer to dry completely.
- Stencils add a unique design element that reflects personal style.
- A topcoat will protect their cabinet from future wear and tear.
FAQ Section
1. How much time will it take to repaint and stencil a cabinet?
The project may take a weekend to complete, considering drying times between each step.
2. Is sanding necessary?
Yes, sanding helps the primer and paint adhere better to the surface by creating a rough texture.
3. Can they use any paint for cabinets?
It’s best to use paint specifically designed for furniture or high-gloss paint for durability.
4. What type of stencils should they use?
Choose reusable or adhesive stencils to ensure they don’t slip during painting.
5. How do they clean the painted cabinets?
Use a gentle cleaner and soft cloth to avoid damaging the topcoat and paint.
“`
