“`html
Transforming Old Wooden Doors into Rustic Shelves: A Creative Upcycle
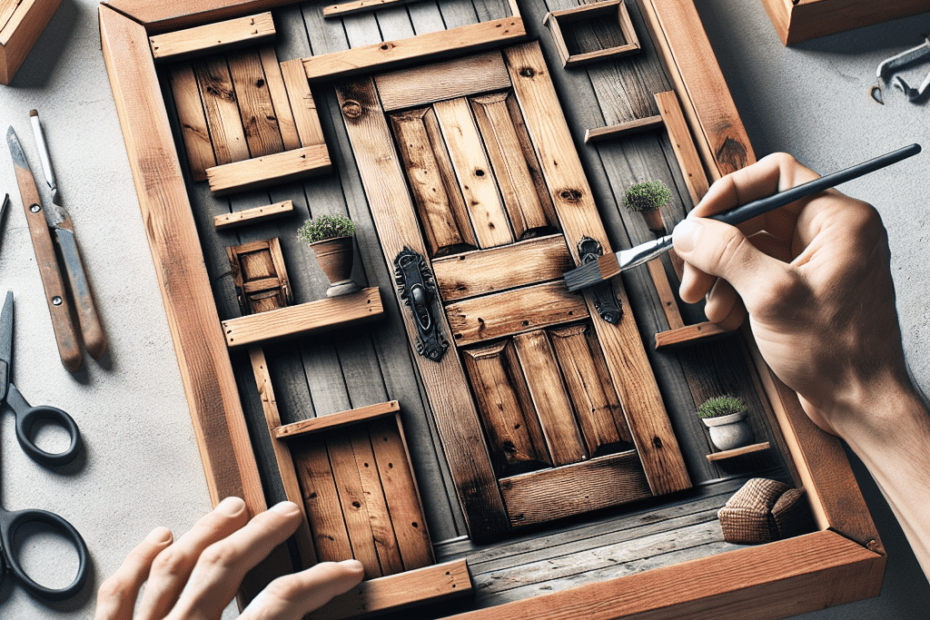
They often find themselves wondering what to do with old, unused wooden doors that have lost their functional charm or simply don’t fit the new home decor. Instead of discarding these once-stately pieces, transforming them into Upcycled Wooden Door Shelves can offer a new lifespan while adding a touch of rustic beauty to any space.
Upcycling not only benefits individuals by providing unique and customized furniture pieces but also contributes positively to the environment. According to the Environmental Protection Agency, only about 38% of construction and demolition waste is recycled in the US, which signifies opportunities for more creative upcycling at home.
Materials Needed for Upcycling Wooden Doors
- Old wooden door
- Sandpaper (medium and fine grit)
- Saw (hand or electric)
- Paint or wood stain
- Brackets and screws
- Measuring tape and pencil
- Drill
- Brush or roller for paint/stain
Steps to Create Upcycled Wooden Door Shelves
1. Preparing the Door
The first step involves preparing the door by removing any existing hardware such as knobs or hinges. This can be done easily with a screwdriver. Once the hardware is removed, they should thoroughly clean the door to eliminate any dust or grime.
2. Sanding the Surface
Sanding is crucial for smoothing out the wooden surface and preparing it for painting or staining. They should start with medium-grit sandpaper and then use a finer grit to get a smoother finish. Sanding also helps remove old paint or varnish residues.
3. Cutting the Door into Shelves
With a saw, they should carefully cut the door into the desired number of shelves. It’s essential to measure and mark the sections they wish to turn into shelves to ensure accuracy. Typical door dimensions allow for multiple shelves to be created from a single door.
4. Finishing Touches
Once cut, they have the option to paint or stain the shelves. This step offers a personal touch, allowing them to match the shelves to their specific home decor. When painting or staining, it’s best to use multiple coats for durability and a polished look.
5. Installing the Shelves
After allowing sufficient time for the paint or stain to dry, they can proceed with the installation. Using brackets, they should secure each shelf to the wall. It’s important to use a level to ensure the shelves are even during installation.
Benefits of Upcycled Wooden Door Shelves
| Benefit | Description |
|---|---|
| Eco-Friendly | Reduces waste and promotes recycling. |
| Cost-Effective | Less expensive than buying new furniture. |
| Unique Designs | Each piece is one-of-a-kind. |
| Increased Creativity | Encourages personal creative expression. |
Incorporating upcycled wooden door shelves into home décor not only enhances aesthetic appeal but also reflects a commitment to sustainable living. With creativity and a bit of effort, these shelves can turn any room from ordinary to extraordinary.
Key Takeaways
- Old wooden doors can be turned into functional, rustic shelves through a simple upcycling process.
- Preparation involves removing hardware, cleaning, and sanding the doors.
- Shelves are created by cutting the door and then painting or staining them for personalization.
- Installation requires careful measurement and secure mounting with brackets.
- Upcycled shelves are eco-friendly, cost-effective, and uniquely tailored to personal style.
Frequently Asked Questions
1. Can any type of wooden door be used for upcycling?
Yes, most solid wooden doors can be used. However, those with severe damage may not be suitable.
2. How long does it take to upcycle a wooden door into shelves?
It typically takes a weekend to complete, considering time for sanding, painting, and drying.
3. Is it necessary to use a saw for cutting?
While a saw is recommended for precision, a hand saw can be used if power tools are unavailable.
4. What if I don’t have experience in DIY projects?
This project is beginner-friendly. They can start with simple cuts and improve as they gain confidence.
5. Are there alternatives to using painting or staining?
Yes, one can use varnish for a more natural wooden look or leave the shelves with their original paint for a more rustic feel.
“`
