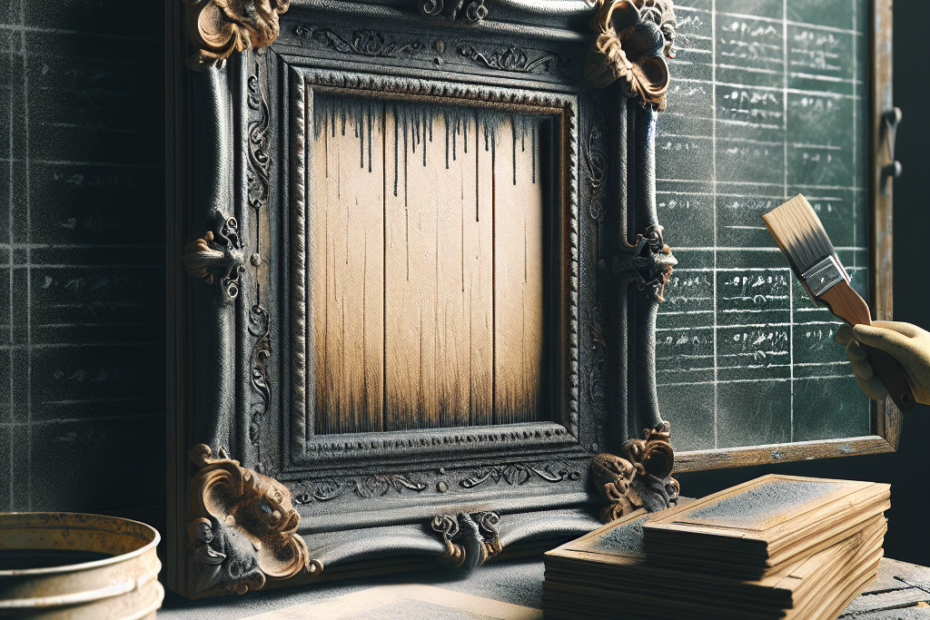
Upcycle Old Picture Frames into a Vintage Chalkboard
Many people have old picture frames lying around, collecting dust and waiting to be upcycled. They might wonder, why not transform these forgotten frames into something new and functional? One creative and eco-friendly option is to upcycle them into a vintage chalkboard. Upcycled chalkboards not only add a rustic charm to any space, but they also help reduce waste.
Materials Needed
- Old picture frame
- Chalkboard paint
- Sandpaper
- Primer
- Paintbrush
- Painter’s tape
- Chalk
- Old newspaper or drop cloth
| Item | Approximate Cost |
|---|---|
| Old Picture Frame | $0 (most people already have this) |
| Chalkboard Paint | $10 to $15 |
| Sandpaper | $3 to $5 |
| Primer | $5 to $10 |
| Paintbrush | $2 to $5 |
| Painter’s Tape | $4 |
Step-by-Step Guide
1. Prepare the Frame
Most old picture frames have accumulated dirt and dust over time. They start by cleaning the frame thoroughly using a damp cloth. If the frame has a glass pane, they should remove it carefully, as the glass won’t be needed for this project.
2. Sand the Frame
Using sandpaper, they should gently sand the frame to remove any old paint or varnish. This will ensure that the primer and chalkboard paint adhere properly to the surface. After sanding, they should wipe down the frame again to remove any dust.
3. Apply Primer
Applying primer is crucial to a smooth finish. They need to apply a layer of primer to the frame and allow it to dry completely. Priming the frame will provide a solid base for the chalkboard paint.
4. Paint with Chalkboard Paint
Once the primer is dry, they should apply the chalkboard paint to the frame. It’s recommended to use painter’s tape to protect the areas that shouldn’t be painted. They should apply at least two coats of chalkboard paint, allowing each coat to dry before applying the next one.
5. Cure the Chalkboard Surface
After the paint has dried fully, they should cure the chalkboard surface. This stops any chalk from making permanent marks. To do this, they should rub a piece of chalk sideways all over the surface, then wipe it clean with a damp cloth.
6. Reassemble the Frame
Finally, they need to reassemble the frame, putting the backing firmly in place. Now, they have a functional upcycled chalkboard.
Benefits of Upcycled Chalkboards
- Environmental Impact: Upcycling reduces the need for new resources. According to a study from the EPA, waste reduction efforts saved over 350,000 tons of landfill space in 2018.
- Cost-Effective: Most materials can be found at home or sourced cheaply, making it a budget-friendly project.
- Customization: They can style the chalkboard to fit any decor theme, from vintage to modern.
Key Takeaways
- Transforming old picture frames into chalkboards is a cost-effective and eco-friendly project.
- Necessary steps include cleaning, sanding, priming, painting, and curing the surface.
- Upcycled chalkboards add both function and vintage charm to any space.
FAQ
1. Can any frame be used for an upcycled chalkboard?
Yes, any frame can be used, but wooden frames are easier to paint and handle.
2. What type of chalkboard paint is best?
Quality chalkboard paints are available at most craft stores. Look for ones with good reviews for the best results.
3. How long does the entire project take?
The project typically takes a couple of days, allowing time for paint and primer to dry between coats.
4. Can they use other types of paint?
It’s best to use paint specifically designed for chalkboards to ensure functionality and longevity.
5. How do they clean the chalkboard?
A damp cloth or chalkboard eraser can be used to clean it. For deeper cleaning, a solution of water and vinegar works well.