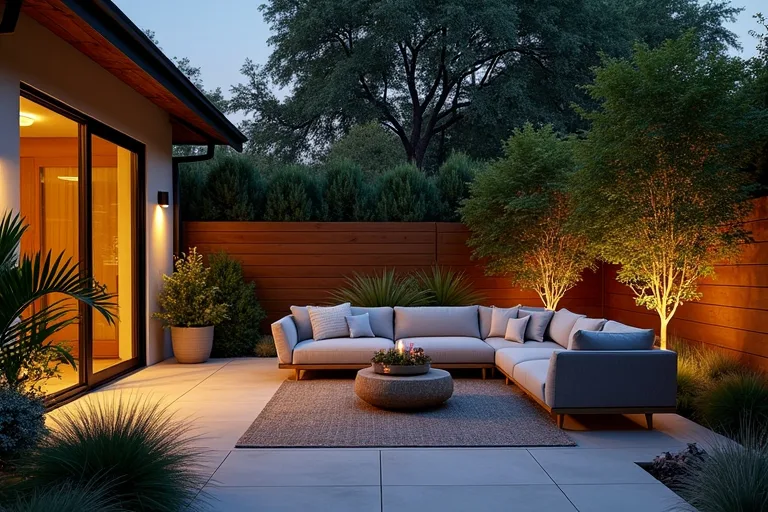
Outdoor lighting works best when it follows how the space is used, not just how it looks at dusk. The right plan can make a patio feel calmer, help the seating area read clearly, and make it easier to move through the space after dark.
If you are starting from scratch, the first question is simple: what does this outdoor area need at night? Once that is clear, the lighting plan becomes much easier to shape around seating, paths, and the parts of the yard you actually use.
Start by lighting the main seating zone first, then add path and accent lighting to support how the space is actually used. That order keeps the layout practical, avoids overlighting, and helps the patio feel warmer without turning it into a bright all-over space.
Start with the zone that matters most
The easiest way to plan outdoor lighting is to decide which part of the space should feel finished first. In most yards, that is the main seating area. If people gather there to talk, eat, or unwind, that zone deserves the clearest and most comfortable light.
Lighting the seating area first does more than improve visibility. It helps define the layout. A patio with a clear light source over or near the conversation zone tends to feel more intentional than one lit evenly everywhere. That distinction matters when you want the space to feel welcoming, but still calm and usable.
If the seating zone is the heart of the layout, support it with a small outdoor rug and furniture arrangement that anchors the area. A simple 4 piece outdoor patio conversation set can help define that center point, while a waterproof outdoor rug 5×7 makes the zone read more clearly at night and holds the composition together.
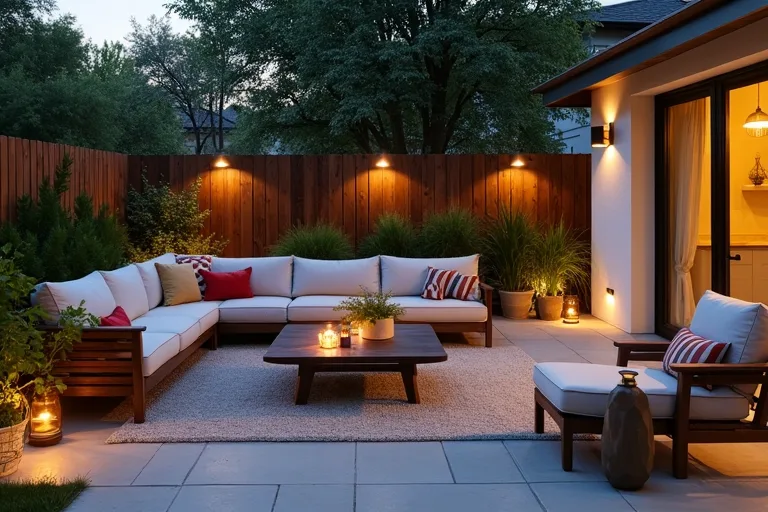
Before you choose fixtures, stand where the seating area will be and ask what needs to be visible there after dark: faces, tabletops, steps, and the edge of the layout. If you can name the real use, you can choose the right light for it instead of adding fixtures everywhere.
Use layered lighting without overcomplicating it
A solid outdoor lighting plan usually needs three layers: ambient, task, and accent. You do not need a complicated setup to use them well. The point is to give each layer one clear job so the whole space feels balanced.
Ambient light gives the patio its general glow. Task light helps with movement or activity, such as grilling, finding a seat, or walking along a path. Accent light is softer and more selective, used to highlight plants, walls, or a textured surface that gives the space depth.
- Ambient: use it to make the seating area feel comfortable and connected.
- Task: use it where people need to see steps, edges, or a working surface.
- Accent: use it sparingly to keep the space from feeling flat at night.
One of the simplest ways to keep the plan calm is to resist the urge to light every corner equally. A little contrast often works better than uniform brightness. It gives the patio shape and helps the seating area stand out naturally.
Place light where people actually move and gather
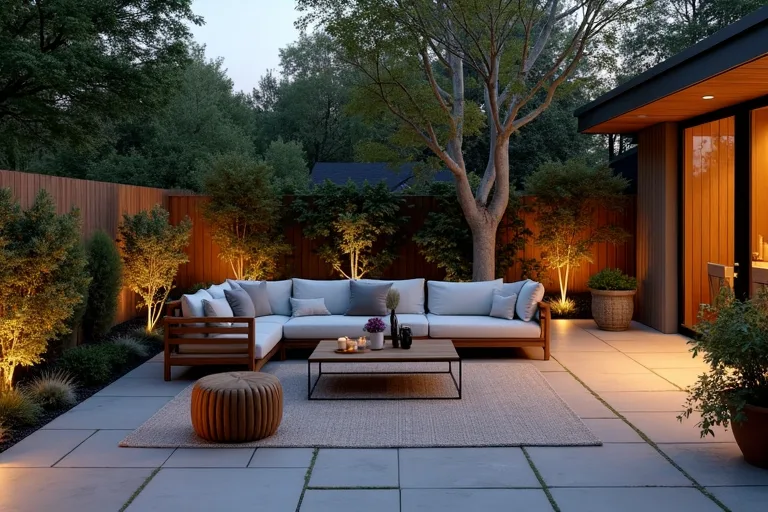
Once the main zone is set, map the practical routes through the space. Good outdoor lighting should support the way people enter, sit, and move around the patio without making every surface equally bright.
Path lighting works best when it helps people read direction, not when it turns the whole yard into a runway. Steps, changes in level, and narrow walkways usually deserve the most attention. If the garden has a separate approach to the seating area, that route should feel clear before you add decorative lighting elsewhere.
Think of the layout in this order:
1. Identify the main seating zone.
2. Mark the route people take to reach it.
3. Add lighting at steps, edges, and transitions.
4. Use accent light only after the practical parts are covered.
This keeps the plan tied to circulation and prevents the common mistake of lighting the wrong feature while leaving the useful areas dim.
If you are still working out the layout, it helps to step back and think about the broader space plan before buying fixtures. The Outdoor Living hub is a sensible place to start, especially if you are deciding where the seating zone should sit in relation to paths, planting, and open space.
Choose fixtures that fit real outdoor use
The best fixture is usually the one that fits the plan cleanly and keeps maintenance simple. For many patios, that means a small number of well-placed sources instead of a crowded mix of lights trying to do too much.
Wall lights, post lights, string lighting, and low-voltage path lights can all work, but each one should support a specific part of the layout. If the seating area is the main focus, start there and then add only what improves movement or depth. A clean plan is easier to maintain and easier to live with over time.
That same decision-first mindset also helps when you are choosing furniture and planning zones. A layout tool or budget tracker can be useful before you start shopping for fixtures, especially if you want to make sure the seating arrangement, rug size, and lighting all work together.
Best next step
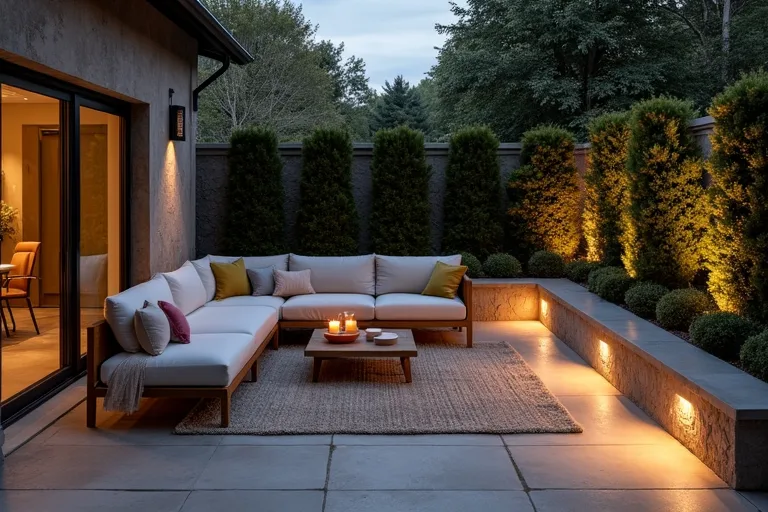
Before you pick fixtures, define the main seating zone on a simple outdoor layout. Once that area is clear, it becomes much easier to decide where ambient, task, and accent lighting should go.
- Lighting the whole yard before defining the seating zone.
- Using one bright source where a softer layered plan would feel better.
- Placing path lights for decoration instead of to guide movement.
- Ignoring steps, edges, and transitions between indoor and outdoor areas.
- Choosing fixtures before the layout is clear.
Outdoor lighting works best when it follows the layout. Start with the main seating zone, then add path and accent lighting where they improve comfort, visibility, and flow. If the space is planned well, the lighting will feel calmer, warmer, and much easier to live with.
Helpful next tools and planners
If you want to make the decision easier before you buy
A few practical tools can help you map the seating area, check the budget, and avoid buying pieces before the layout is settled.
FAQ
How do I start planning outdoor lighting?
Start with the main seating zone, then work outward to paths, steps, and accent areas. That order keeps the plan grounded in how the space is actually used.
Do I need different types of outdoor lighting?
Usually, yes. A mix of ambient, task, and accent light gives the patio better function and makes it feel more finished at night.
What should be lit first in a backyard layout?
The seating area should usually come first, especially if that is where people gather most often. After that, add lighting for movement and visibility.
How can I avoid overlighting a patio?
Keep brightness focused where it is needed and leave some contrast in the space. If everything is equally bright, the patio can feel flatter and less comfortable.
Three sensible next steps
Some links in this article may be affiliate links. Read more in the Affiliate Disclosure.