A kitchen refresh can stay manageable if you decide what problem you are solving before you start shopping. Without that step, it is easy to spend on small finishes while the real weak points stay untouched.
The safest approach is simple: set a budget cap, protect the essentials, and choose a few visible updates that improve the room every day. That gives you a clearer plan and helps each purchase earn its place.
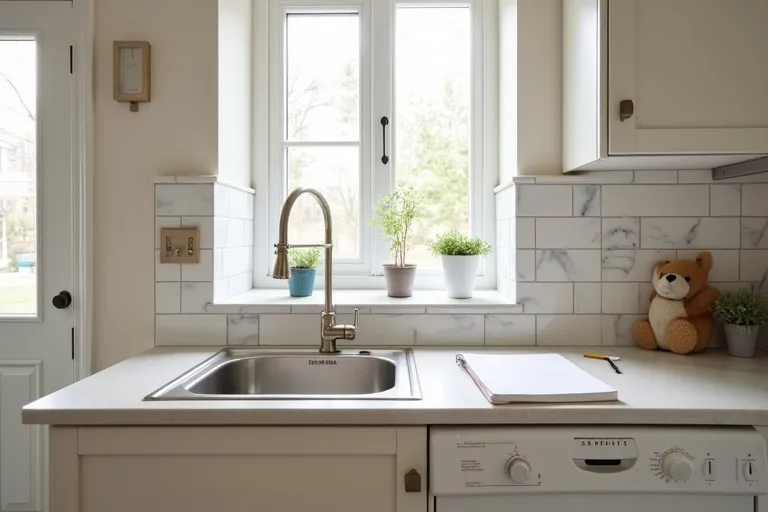
Start with a budget cap, then prioritize the highest-impact updates first. In most kitchen refreshes, that means fixing anything that affects daily use, choosing one anchor upgrade such as a brushed nickel pull-down faucet, and using low-cost finish updates like peel-and-stick backsplash tile only after the essentials are covered.
Set the refresh goal and budget cap
Before you compare products, decide what kind of kitchen refresh this is. A refresh can mean a small cosmetic update, a practical reset before resale, or a careful upgrade of the most worn-out parts of the room. Each one needs a different budget shape.
It helps to name the goal in one sentence. For example: improve daily use, make the room feel cleaner, or update the most visible surfaces without changing the layout. Once the goal is clear, the budget stops being a vague limit and becomes a tool for decision-making.
From there, set a hard cap and avoid treating it as flexible. If your refresh is supposed to stay modest, the cap should protect you from drifting into unrelated replacements. A small budget works best when it has a clear job.

The real decision is not which product looks nicest online. It is whether the upgrade solves the biggest daily friction in your kitchen without forcing the rest of the budget off course.
Separate must-do fixes from nice-to-have upgrades
Once you have a budget cap, divide your list into two groups. Must-do fixes are the things that affect use, wear, or safety. Nice-to-have upgrades are the changes that improve appearance but can wait if the budget starts tightening.
This step keeps the refresh calm. It also makes it easier to say no to attractive extras that do not support the room.
- List the problems first. Focus on leaks, loose hardware, tired fittings, poor lighting, or other things that interrupt daily use.
- Mark the visible surfaces next. These are the updates you notice every time you enter the kitchen, such as faucet finishes, backsplash areas, and cabinet touch points.
- Leave decorative extras for last. If the budget is still healthy, then you can consider smaller styling changes that do not affect function.
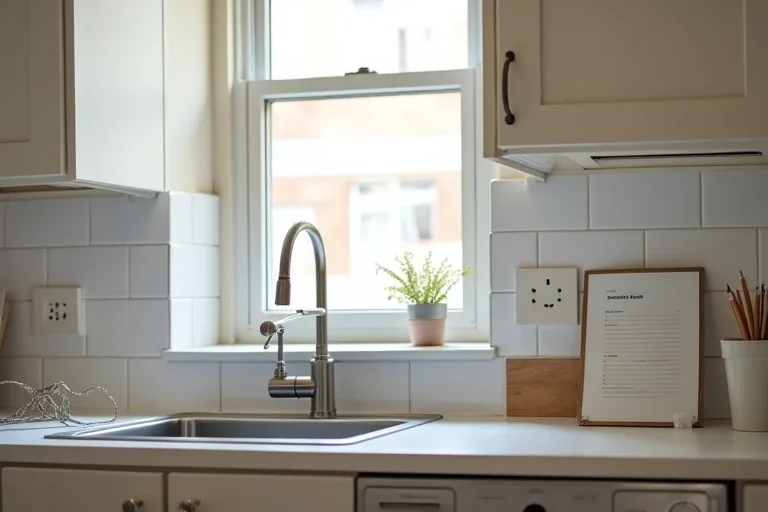
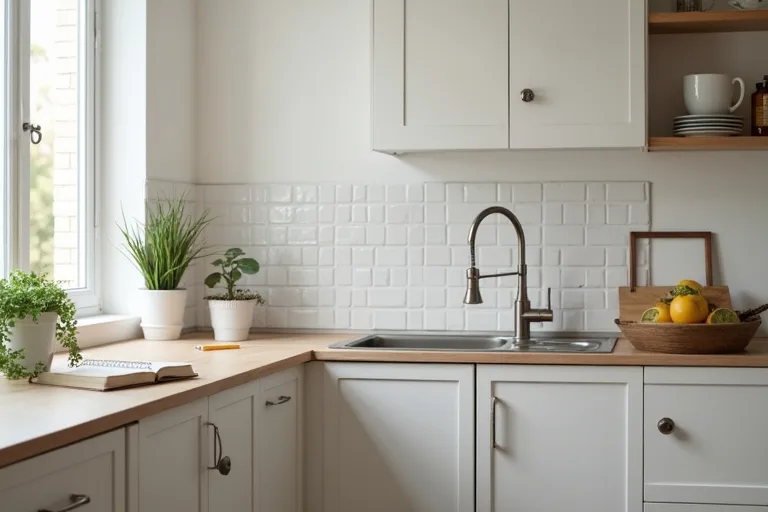
For many homes, a brushed nickel kitchen faucet pull down is a strong middle-ground upgrade because it changes how the sink area feels and functions without asking for a full renovation. A faucet replacement can make the kitchen look more finished while still staying within a refresh budget.
Choose the upgrades that change the room most
When the budget is limited, the best upgrade is usually the one you will notice and use every day. In a kitchen refresh, that often means focusing on the sink zone, the backsplash line, and any surface that reads as tired from across the room.
A useful way to rank options is to think about visual impact and daily use together. The highest-value changes are usually the ones that improve both.
If you are deciding between a small fix and a bigger replacement, ask three questions:
- Will this change affect how the kitchen works every day?
- Will I still notice the improvement after the novelty wears off?
- Does this purchase support the rest of the room, or does it create more unfinished areas?
Affordable finish updates can go a long way when they are chosen carefully. Peel-and-stick backsplash tile is often useful for a refresh because it can brighten a wall area without committing to a full tile project. Used well, it supports the room instead of taking over the budget.
If your kitchen is part of a broader dining or layout update, it may also be worth looking at how the refresh connects to the rest of the space. The Kitchen & Dining hub is a good place to step back and check the room as a whole before you spend too far into finish details.
Build the spending order and track every choice
A refresh budget is easier to manage when every purchase has a place in the order. Start with the items that protect function, then move to the anchor upgrade, then add the smaller finish changes only if money remains.
A simple order might look like this: repair or replace problem items first, choose the main focal upgrade second, then use remaining funds for surface updates and final details. That structure helps you avoid buying several small items before the most important decision is made.
This is also where a planning tool earns its keep. A budget planner makes it easier to compare costs side by side, see what still needs funding, and avoid buying pieces that do not fit the plan. If you want to keep the process calm, use a spreadsheet before you start adding things to cart.
If the refresh may affect storage, work zone spacing, or how people move through the kitchen, it is worth checking sizing before you commit. The kitchen island size calculator can help if you are deciding whether a layout change is realistic or whether the budget should stay focused on surface improvements.
Best next step
Before you buy anything, map your costs, priorities, and upgrade order in one place. That makes it much easier to stay within budget and choose the right sequence for a kitchen refresh.
- Choosing finishes before deciding what the refresh needs to fix.
- Spending on several small updates before covering the highest-priority item.
- Mixing must-do repairs with optional styling changes in the same budget line.
- Skipping a written plan and relying on memory while shopping.
- Underestimating how quickly a few low-cost purchases can add up.
A good kitchen refresh budget is not about spending more. It is about spending in the right order. Start with a clear cap, separate essential fixes from optional upgrades, and choose one strong anchor change before adding smaller finish updates. If you want the process to stay calm, use a budget planner to track the numbers first and then move to products only when the plan is clear.
Helpful next tools and planners
If you want to make the decision easier before you buy
These picks fit a practical kitchen refresh approach: one product for the main sink upgrade, one surface update for a visible finish change, and one planning tool to keep the budget organized.
FAQ
How much should I set aside for a kitchen refresh?
Start with the amount you can spend without affecting essentials elsewhere in the home, then divide that cap by priority. A refresh works best when the budget is based on purpose rather than a vague wish list.
What should I upgrade first in a small kitchen refresh?
Begin with anything that affects daily use or creates visible wear. In many kitchens, the faucet, sink area, and backsplash line are good starting points because they influence both function and appearance.
Is a faucet replacement worth it in a budget refresh?
Yes, if the current faucet is worn, inconvenient, or visually dated. A brushed nickel pull-down faucet is often a practical anchor upgrade because it improves the sink area without requiring a full remodel.
Should I use a planner before shopping?
Yes. A planner helps you compare costs, keep the upgrade order clear, and avoid buying small items that push out the changes you actually need.
Three sensible next steps
Some links in this article may be affiliate links. Read more in the Affiliate Disclosure.